Saturday, July 9, 2022

Backyard Project #1.5 - The Gravel Path

 After much sketching and staring at the dirt, I finally decided upon a path shape that will meander from the gravel patio, through the wildflower meadow, and down to the deck.  Since the pond and the deck are still just pipe dreams, and knowing the land upon which I stand to be a veritable rock quarry, I'm not sure where the exit path will be.  I know where I want the pond and the deck, but that doesn't mean they'll actually be where I want them.  For now I've laid the entrance path and the loop, and edged the area I want to be my meadow (vs. the area beyond it, which is whatever happens to grow in craptastic soil).

I've used the no-dig edging that wouldn't work for the patio, and while it's fairly easy to create circular patterns with that, it's a little more difficult to curve the straight landscape fabric.  I did the best I could, and tried to keep the path equal in width the entire way.  Unfortunately - see the above description of my property - pins don't always pound in where you want them, even on ground that's been excavated heavily. 


Close enough.  I'm hoping once the dirt is down and plants are growing, the path won't be such a focal point.

I must have miscalculated for my pea stone, because it's very thick on the patio and makes walking a little tricky.  Since I obviously had some to spare, I skimmed a layer off the patio and used it for the path.  This section is thinner, and I didn't need to use the base gravel. 


I used the remaining edging to define the perimeter of the meadow, which isn't an exact geometric shape, either.  Perfectionists will lose their minds if they enter my back yard.


Before my loam arrives, I need to dig up that last bit of stubborn stuff invading my meadow, and I need to finish the edging on the patio ends.  

I'm debating whether to hire a fence company to install the short bit of privacy fence that will run from the house to just beyond the bathtub (still covered for winter...I knew I wouldn't be using it this year!) or to do it myself.  I've done so much fencing in the last six or seven years that I'm pretty much over it, but I need to save my pennies, too.  I have a feeling I'll end up doing it myself, and my back will hate me even more.

Sunday, June 26, 2022

Backyard Project #1 - The Gravel Patio

 After much hemming and hawing, I decided not to have a deck built off the back of the house just yet.  Instead I've decided to create a pea gravel patio.  There's a long, narrow spot between the house and the edge of the leach field, so it'll work great on that area.  I did lots of reading about creating gravel patios, and figured it was something I could tackle. 

SO!  The patio.  

The first thing I had to do was remove the masses of weeds and clover that had taken over the newly excavated area in the last two years.  I tried using Reputa and my little york rake, but that didn't get down into the soil enough to rip the weeds out by the roots, so there was much hoeing and chopping and forking and swearing, but I got the area fairly knocked out.  Once things were loosened, I was able to drag the rake over the area and clean it up a little.  I tried not to get too far into the soil, because I was told not to take any soil off the top of the leach field, and try not to compact it too much by driving over it.  Well, I kind of adhered to that.


I let it sit for a few days and bake in the sun, then raked it one last time by hand to clean up any residual debris.  I then marked out the area I wanted to use, made my adjustments, and laid down some landscape fabric.


My research led me to understand that the best method of laying gravel is to use a larger aggregate with a binding material, which creates a more stable surface.  I went with 3/4" crushed gravel, and on top of that I would put a layer of pea stone.  The area is roughly 30'x15', so I needed about 3 yards of each, give or take.  I called the local gravel folks and told them what I needed, and set up a delivery.  In the meantime, I combed the interwebs looking for the perfect edging.  What I wanted was the new fangled, no-dig edging.  Let me tell you, pounding in the pins for the landscape fabric had me swearing all over again (hello, soil with mostly rocks) and I knew I was taking a gamble on that type of edging, but I wanted it to be secure.  I found some that was described as 4 1/2" tall and purchased a couple rolls of it.  It arrived the day before the gravel delivery and I was horrified to discover the 4 1/2" was the length of the edge that gets bent inward and fastened to the ground to the top of the actual edging, meaning that the actual edging was only about 1 1/2" tall.  I was figuring on 4" of stone, so this clearly wasn't going to work.  In a panic I called about six different places that sold landscape supplies, went online again and searched, but kept coming up empty.  There was a thin pound-in edging, but I had used it before and I wasn't impressed with it.  At the very last minute, staring out over the back yard and desperately trying to solve my dilemma, I noticed a pile of stones at the edge of the pasture.  These were the stones that had once been a field stone wall that we had to remove for construction, and I had piled them up knowing I'd use them for something else.  Oh, happy day!  I would use field stones for edging!

I didn't need them to be some perfect wall, I just needed them to hold back the aggregate, so I lined them up and will add to them later.


A very blurry (but the only one) picture of the crushed gravel.


And it worked!  I kept the ends open so that once I got the bulk of the pile spread by hand, I could drive Reputa over it with the york rake and move it around a little.


The pea stone was delivered the next morning, and since it was ridiculously hot and humid, I waited until the cool of the evening to spread that.  I did it by hand, and rushed the job because we're supposed to have some rain tomorrow.  


The rain should really help settle everything in.  I've left it fairly thick on both ends because I need to stone it in, then I can really work on leveling out the humps and making it pretty.  The end behind the mini split compressor will be the sitting area, since that's the most level spot.  

Once I've finished this, I'll be working on the wildflower meadow in front of it.  It's almost surreal to think I might actually have my own yard by the end of summer!


Friday, June 10, 2022

Catching up

 Well, it's been a while.  

On the seed starting front, I'm happy to say that my pansies, impatiens, and petunias all exceeded my expectations.  I used what I could, mom used what she could, and I gave the rest away.  Some of the veg I started didn't do as well.  My broccoli bolted shortly after I planted it, but that may have more to do with the relatively cool spring we've been having.  We had one weekend in early May where the temperatures were ridiculously hot, then it dropped back down to the 60s during the day, 40s at night.  At the moment our average is low 70s during the day, 50s at night, and I'm loving it.  After a few years of going from winter straight into summer, we're finally experiencing a proper spring.

The veg garden is slow but coming along.  The cauliflower seeds I started seem to be doing better than the broccoli, and my sweet peppers are a little odd looking but thriving.  I have a feeling some of the strange growth patterns may have to do with the seeds being 4 to 5 years old at this point.  I direct sowed my cucumbers and green beans last weekend, and I think I'm done for now.  I have radish, onion, shallots, peas, beans, cukes, tomatoes, peppers, cauliflower, head lettuce, celery, and for the first time in decades, carrots.  


The perennial holding beds are all set up and I've started transplanting the plants I had temporarily housed in my mother's spare beds.  Everything is doing well, but I did lose some of my shade plants over the winter.  


I have been battling bindweed in and around these gardens all spring, and I almost wish I'd used landscape fabric weed block instead of cardboard.  I added a thick layer of mulch to each bed and the bindweed vines still poke through by the hundreds.  It's nearly a full time job trying to stem the tide of this invasive plant.  

One of the biggest transformations this spring is the area that will be my woodland garden.  I had a crew of tree experts come in and take down some hazard trees near the mule track and park out the area between mom's driveway and mine.  I had originally wanted most of the large oaks and what I thought were worthless trees cut, but the young man who owns the tree service convinced me to keep them, because they are quite spectacular.  He and his crew took out the smaller trees, cleaned up some of the invasive brush species, and did some pruning on the larger oaks to mitigate the acorn issue I have in the autumn.  The result is amazing.

pre-clearing

post clearing


I'm excited to begin working on this area, but first I need to get that track fenced.  

I've also built a small garden in front of the house where I've planted my Primrose Lilacs, and I've filled the giant planter with tomatoes, nasturtium, and borage.  I planted my clematis between the giant planter and the steps, with a miniature catmint 'Cat's Pajamas' to help shade the clematis base.


I have yet to begin working on a back yard plan, but I'm hoping to get that fenced in soon so I can develop some semblance of a garden area.  Since the leach field takes up most of the area directly behind the house, I've decide to plant a wildflower garden over that.  Anything planted over a leach field needs to have shallow roots so as to not interfere with the system, and wildflowers are a perfect fit.  I can plant some shallow rooted perennials as well; coneflower, creeping thyme, lupine, etc.  I have a feeling this summer is going to be a busy one.

Tuesday, April 5, 2022

growth spurts

 Back on March 20th I transplanted various seedlings, including some pear tomatoes and African Daisies.

African Daisies...how about those roots?!?
Daisy happily transplanted.
Pear tomatoes.


Here it is April 5th, and look at how they've grown!

African Daisy

Pear tomato

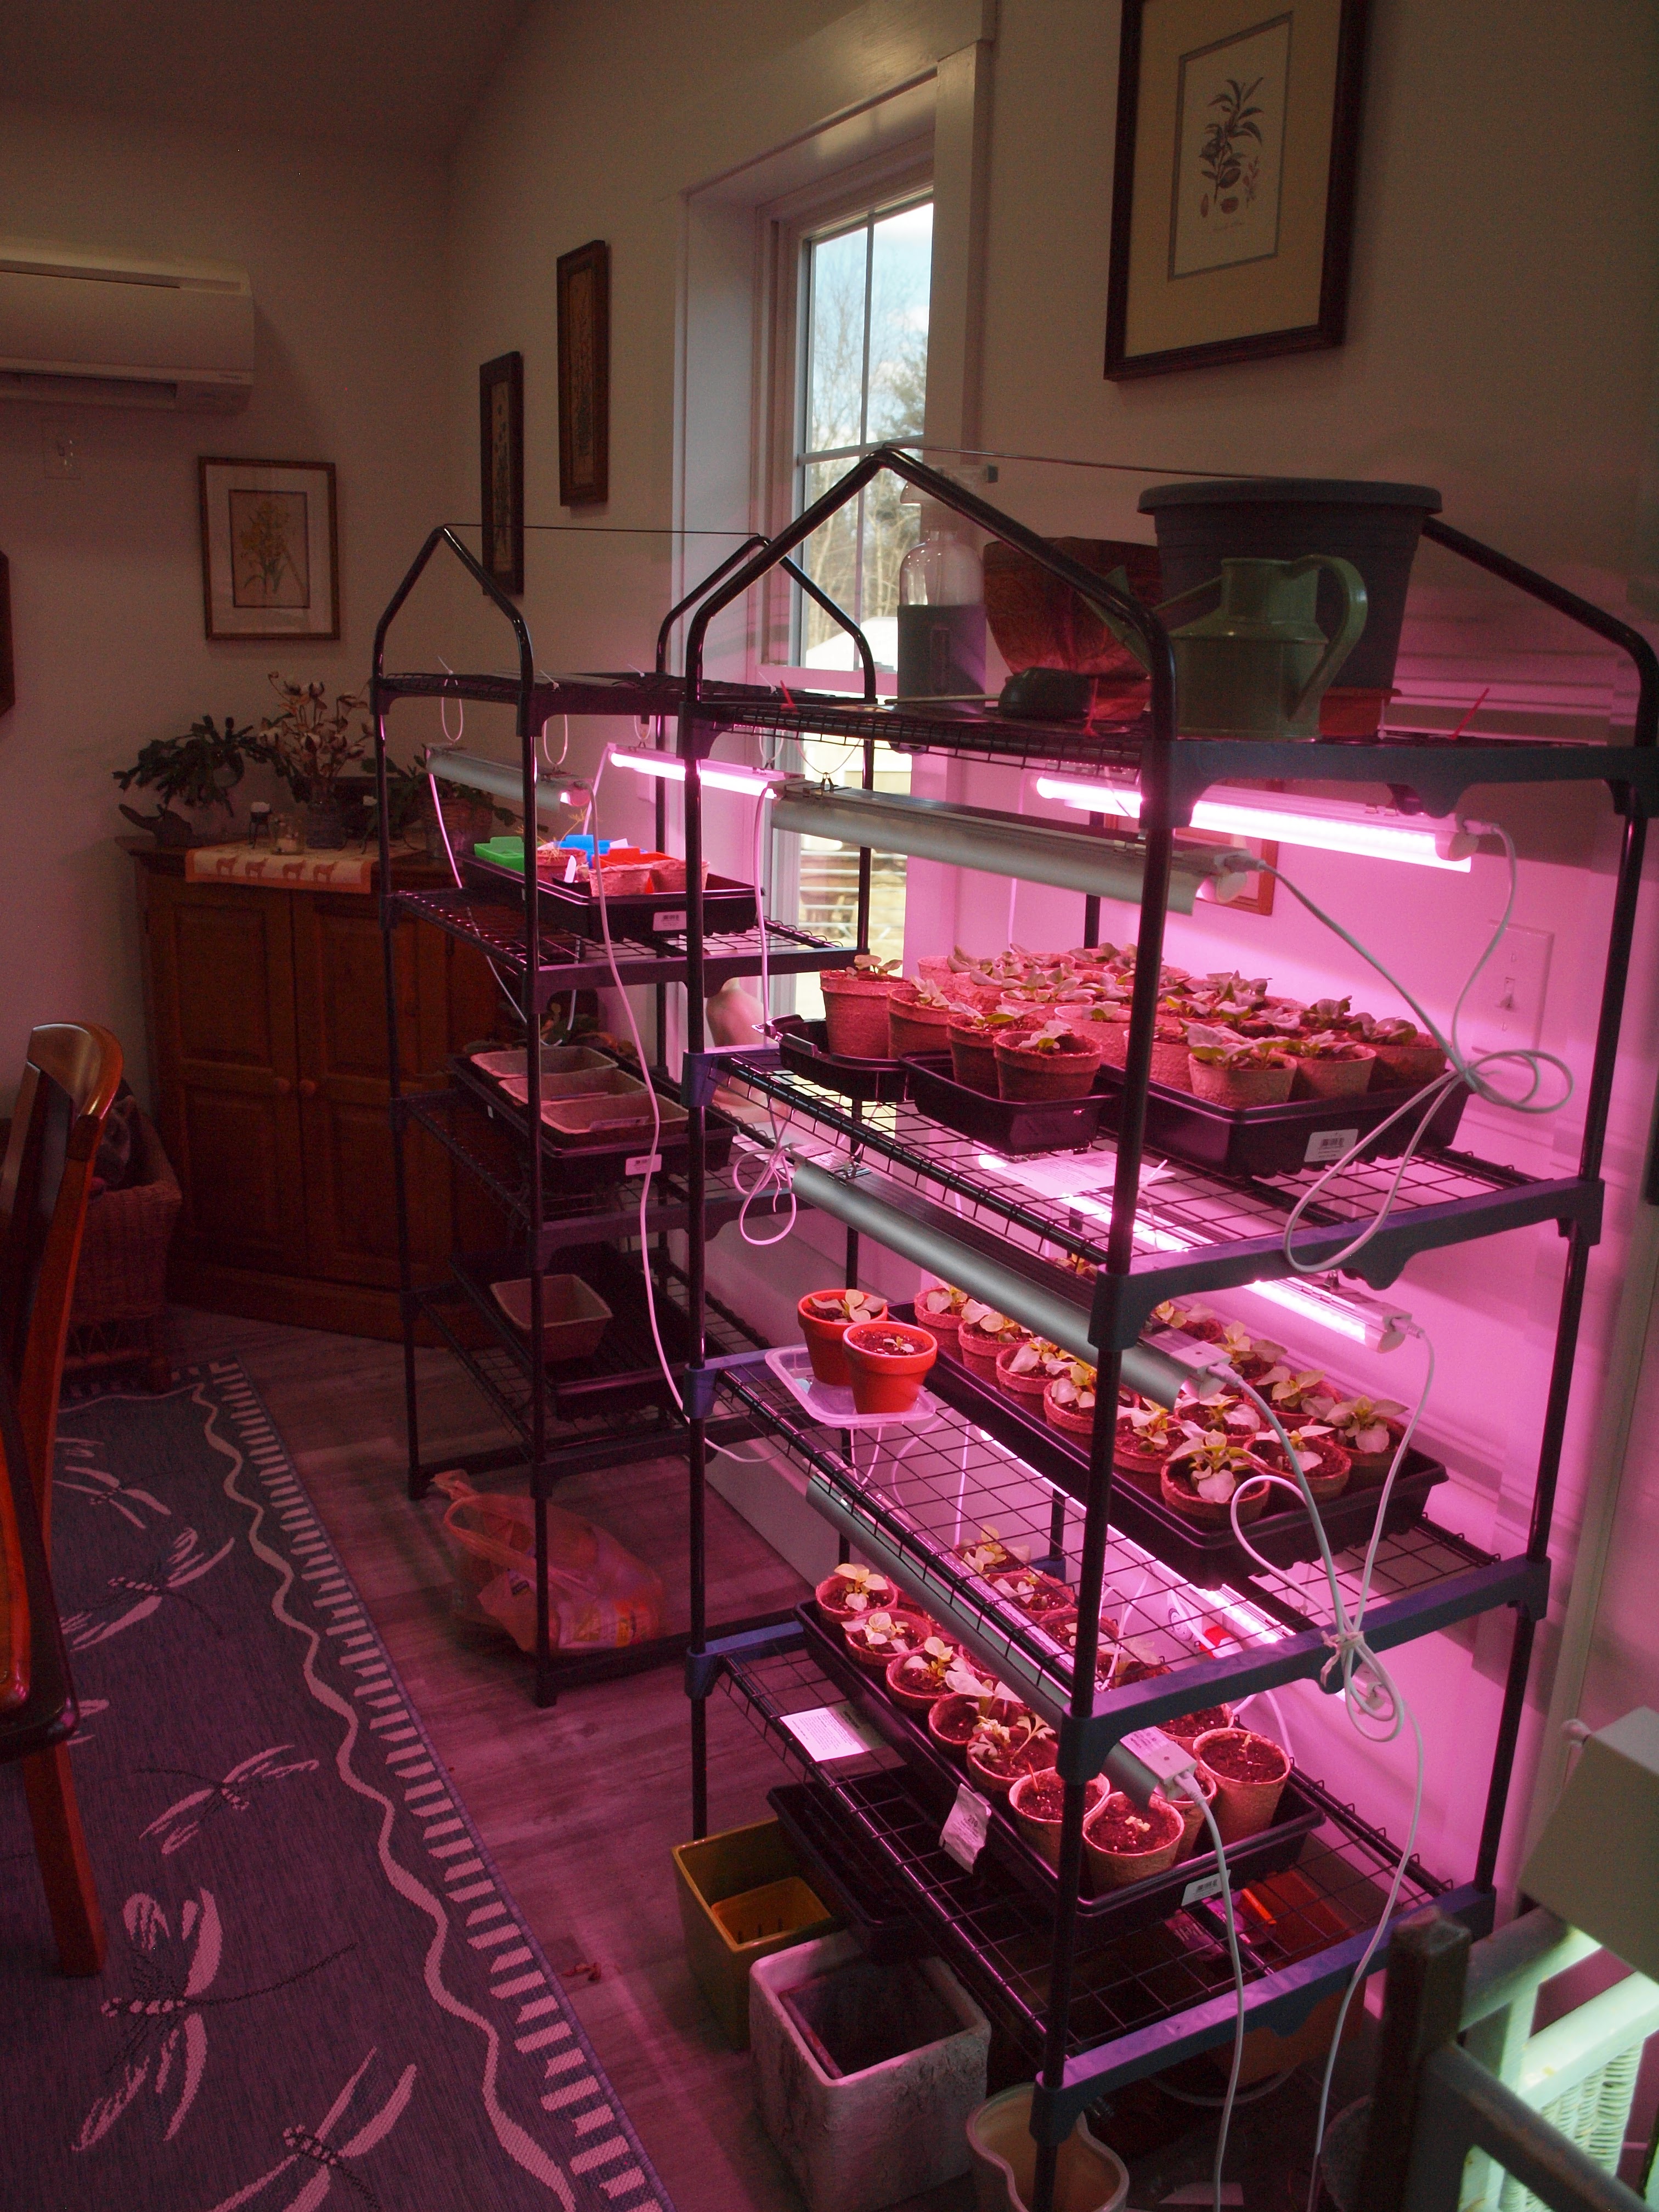
I'll admit, the daisies are looking kind of leggy.  I repotted the broccoli starts for the second time and they're getting bigger, too.  The older plants are under the big fluorescent light, while the smaller seedlings are under the LED lights.


I've started some lettuce; a tray of leaf and a tray of head.  And I've invested in another greenhouse setup and have more lights coming soon.  This may be getting out of hand...

Today I was able to set up my pea trellis and plant some Sugar Magnolia peas.  I also planted some Early Scarlet Globe radish.  In a week or two, I'll be putting out my celery and planting some carrots.  I love the cool season vegetables; you can get out in the garden even if it's brisk and there are still patches of snow, and satisfy your need to plant.


Something I did that I think is going to be really beneficial was to create a map of the garden.  I just did a quick mock up in Microsoft Paint, nothing fancy.  I saved a blank copy, and then I printed a copy and wrote in each section what had been planted there.  I found a blog post with a great graphic for simple crop rotation and used that to help plan out this year's garden.  My peas are where onions grew last year, and my radish where the peppers were.  I'm hoping if I keep this up year after year, it will create a healthy soil structure and benefit the plants.  I'm also putting the date the seeds were sown, so I can better anticipate germination and harvest times.

Oh yeah...remember the mystery seedling that sprouted in my pepper pot?  Yeah, it's definitely a sunflower.


At this point, it's too tall for the grow lights, so it's relegated to the floor and natural sunlight.  Hopefully it will warm up before this thing is four feet tall and calling out, "Feed me, Seymour!"

Sunday, March 20, 2022

Easy Peasy Backsplash

 Friends, we have entered the era of Peel & Stick, and I am fully on board with this.

As much as I love my new digs, there are a few things that fell kind of flat.  The drywall and the paint were disappointing.  I keep finding evidence of sloppy mudding and orange peel-like areas.  There's a softball sized area in the media room that actually looks like a close up of skin pores, and it's smack in the middle of the wall.  The paint they used is simply awful; if you so much as look at it, it will leave a mark.  It was sprayed on in two thin coats, so if you try to remove any blemishes, with a few gentle swipes you're suddenly peeling off the outer part of the drywall.  This has presented a huge issue around the stove and the sink areas in the kitchen, as they are most prone to be splattered or splashed with water, grease, or what have you.  

pre-backsplash

I had been toying with the idea of a four inch butcher block backsplash around the kitchen counters, and in searching for materials I came across peel & stick tiles.  Further investigation into that led me to peel & stick faux tile sheets.  This material is much more budget friendly, so I decided to give it a try.

I measured the area and ordered my sheets.  Originally I had only intended to do the length from the kitchen door to around the corner to behind the stove and end at the refrigerator in one tile height, which was 12".  Once the sheets arrived I started taping the tiles up with painter's tape to see how it looked.  I ran the one tile length, then tried taping up to the bottom of the floating shelf to see how that looked.

I decided that I did prefer the tiles all the way to the underneath of the cabinets, but I didn't relish the thought of all the cutting involved to make it look right if it went to the underside of the floating shelf.  

I cleaned off the counter and began by cutting the first tile so it would line up flush to the trim on the left side, and then started lining up the sheets.  The nice thing about these thick sheets is that they will kind of clip together before you peel off the backing, which makes it much easier to do templates around outlets without committing to sticking the sheet to the wall.  I used the thin cardboard insert that came in the package of sheets to make templates.  By turning it upside down I was able to use it twice and sometimes three times to mark out outlets.

The reviews I read about most peel & stick items almost always suggested using a secondary adhesive to ensure the sheets actually stick to the walls.  Many people finished a job and within 24 hours the tiles began peeling off the walls like crazy.  Whether that was due to not cleaning their walls enough or poor adhesive on the tiles, I can't say, but I used a commercial grade spray adhesive on the backs of my tiles to be safe.  If I worked quickly enough, I was able to peel off tiles that didn't set right and realign them.


When I came to the corner, I thought my best bet would be to score the tile so it would fit neatly into the corner and wrap around to the other wall.  I did that for the bottom tile, but for the top half tile, I put it into place without scoring it, and used a squeegee tool to press it into place.  Both strategies worked, but i think the scoring will probably hold better.


Here to the right you can see how the sheets fit together before you glue them on.


Because I decided to go with one and a half sheets all the way around, I didn't have enough to finish to the refrigerator.  I've ordered two more boxes and will hopefully have this done in a few days.  I still don't have a hood vent, so I'm toying with the idea of just leaving the border or maybe going up the wall with more sheets.  My other thought is to get a washable paint that matches the tile color and paint a section of the wall behind the stove.  Without a hood vent, it's difficult to picture the different options.


For now, I'm very happy with the end result.  It gives the kitchen area a little more oomf with that pop of color.  So far between the 5 packs of tile, the wallpaper kit, and the spray adhesive, I'm at $150.93.  My meager budget thanks me for that!  I didn't track my time, but I would say I probably have five or six hours into the project so far.  Laying out the tiles and making the templates was definitely the most time consuming part, but also the most important.  I only had one section, just after the corner, where my tiles started to become misaligned.  Thankfully the microwave hides that part.  If you look closely, you can see the seams where the tiles don't quite butt together, and I'm not sure if I'll address that or not.  I need to live with it for a while and then I'll decide. 


Sunday, March 13, 2022

spring tease

 Just when you think spring has arrived and maybe you can get out and do a little work on the property...

...winter says, uhhhh NOPE.

 Well, it is March after all.  We've had wicked Nor'easters on April Fool's Day, so you can't count the weather out just yet.  

The storm didn't stop a couple of young Tom turkeys from their daily trek.

 And a small flock of Red-winged blackbirds showed up at Mom's feeders.

Meanwhile, inside the house, seedlings are beginning to emerge.

Three of my broccoli seeds have sprouted, and they're already getting leggy.

Now, I know that to fix leggy tomato plants you can transplant them into larger pots, burying them deep.  The little hairs on the stems are actually roots, so they'll quickly spread under the soil and anchor the seedling a little better.  I had no idea if that was also a solution for leggy broccoli seedlings, so off to the world wide web I went.  The verdict?  Yes, you can do the same.  Instead of climbing through the mess that is my storage shed searching for small plastic pots, I'm going to use toilet paper tubes.  


I put a small amount of seed starting soil in the bottom of the tube, dropped the broccoli seedling in there peat pellet and all, and filled it with more soil.  Hopefully that will give them a chance to bulk up their stems before they really start leafing out.