Showing posts with label barn. Show all posts

Saturday, November 21, 2020

My Own Private Island

 So I made the happy mistake of checking the local Habitat ReStore Facebook page, and of course I saw something I couldn't resist.  

What's a Habitat ReStore?  It's a home thrifter's dream come true, that's what it is!  When people renovate their homes, they donate usable materials, furniture, appliances, decor, and whatnot to Habitat for Humanity.  HFH then sells these items at an amazing discount to the public, and they in turn use the proceeds to fund their projects.  It's a win-win deal!  ReStores are all over the place, so if you love bargain hunting, I highly recommend checking one out.

The treasure I found was this kitchen island:


I want butcher block countertops in my kitchen, so this will fit in perfectly.  I'll paint the base white, of course, and there are a few other details I need to address.  It seems this was a display counter in a retail store originally, and it's not even attached anywhere.  The legs are actually a fraction of an inch short and the countertop doesn't even touch them.  One side of the base was meant to attach to a wall, so it's not finished.  The top is actually upside down in this photo; the other side has a company name and logo carved into it.  I plan to put a small section of beadboard on the unfinished side of the base, and I'll need to give the bottom of the countertop a light sanding then hit it with a few coats of polyurethane so I can use it as the top.  One of the edges also needs to be slightly beveled to match the rest.  Having it in 3 pieces is actually going to make refinishing it that much easier, and it's a perfect size, so I'm incredibly happy to have stumbled across it. 

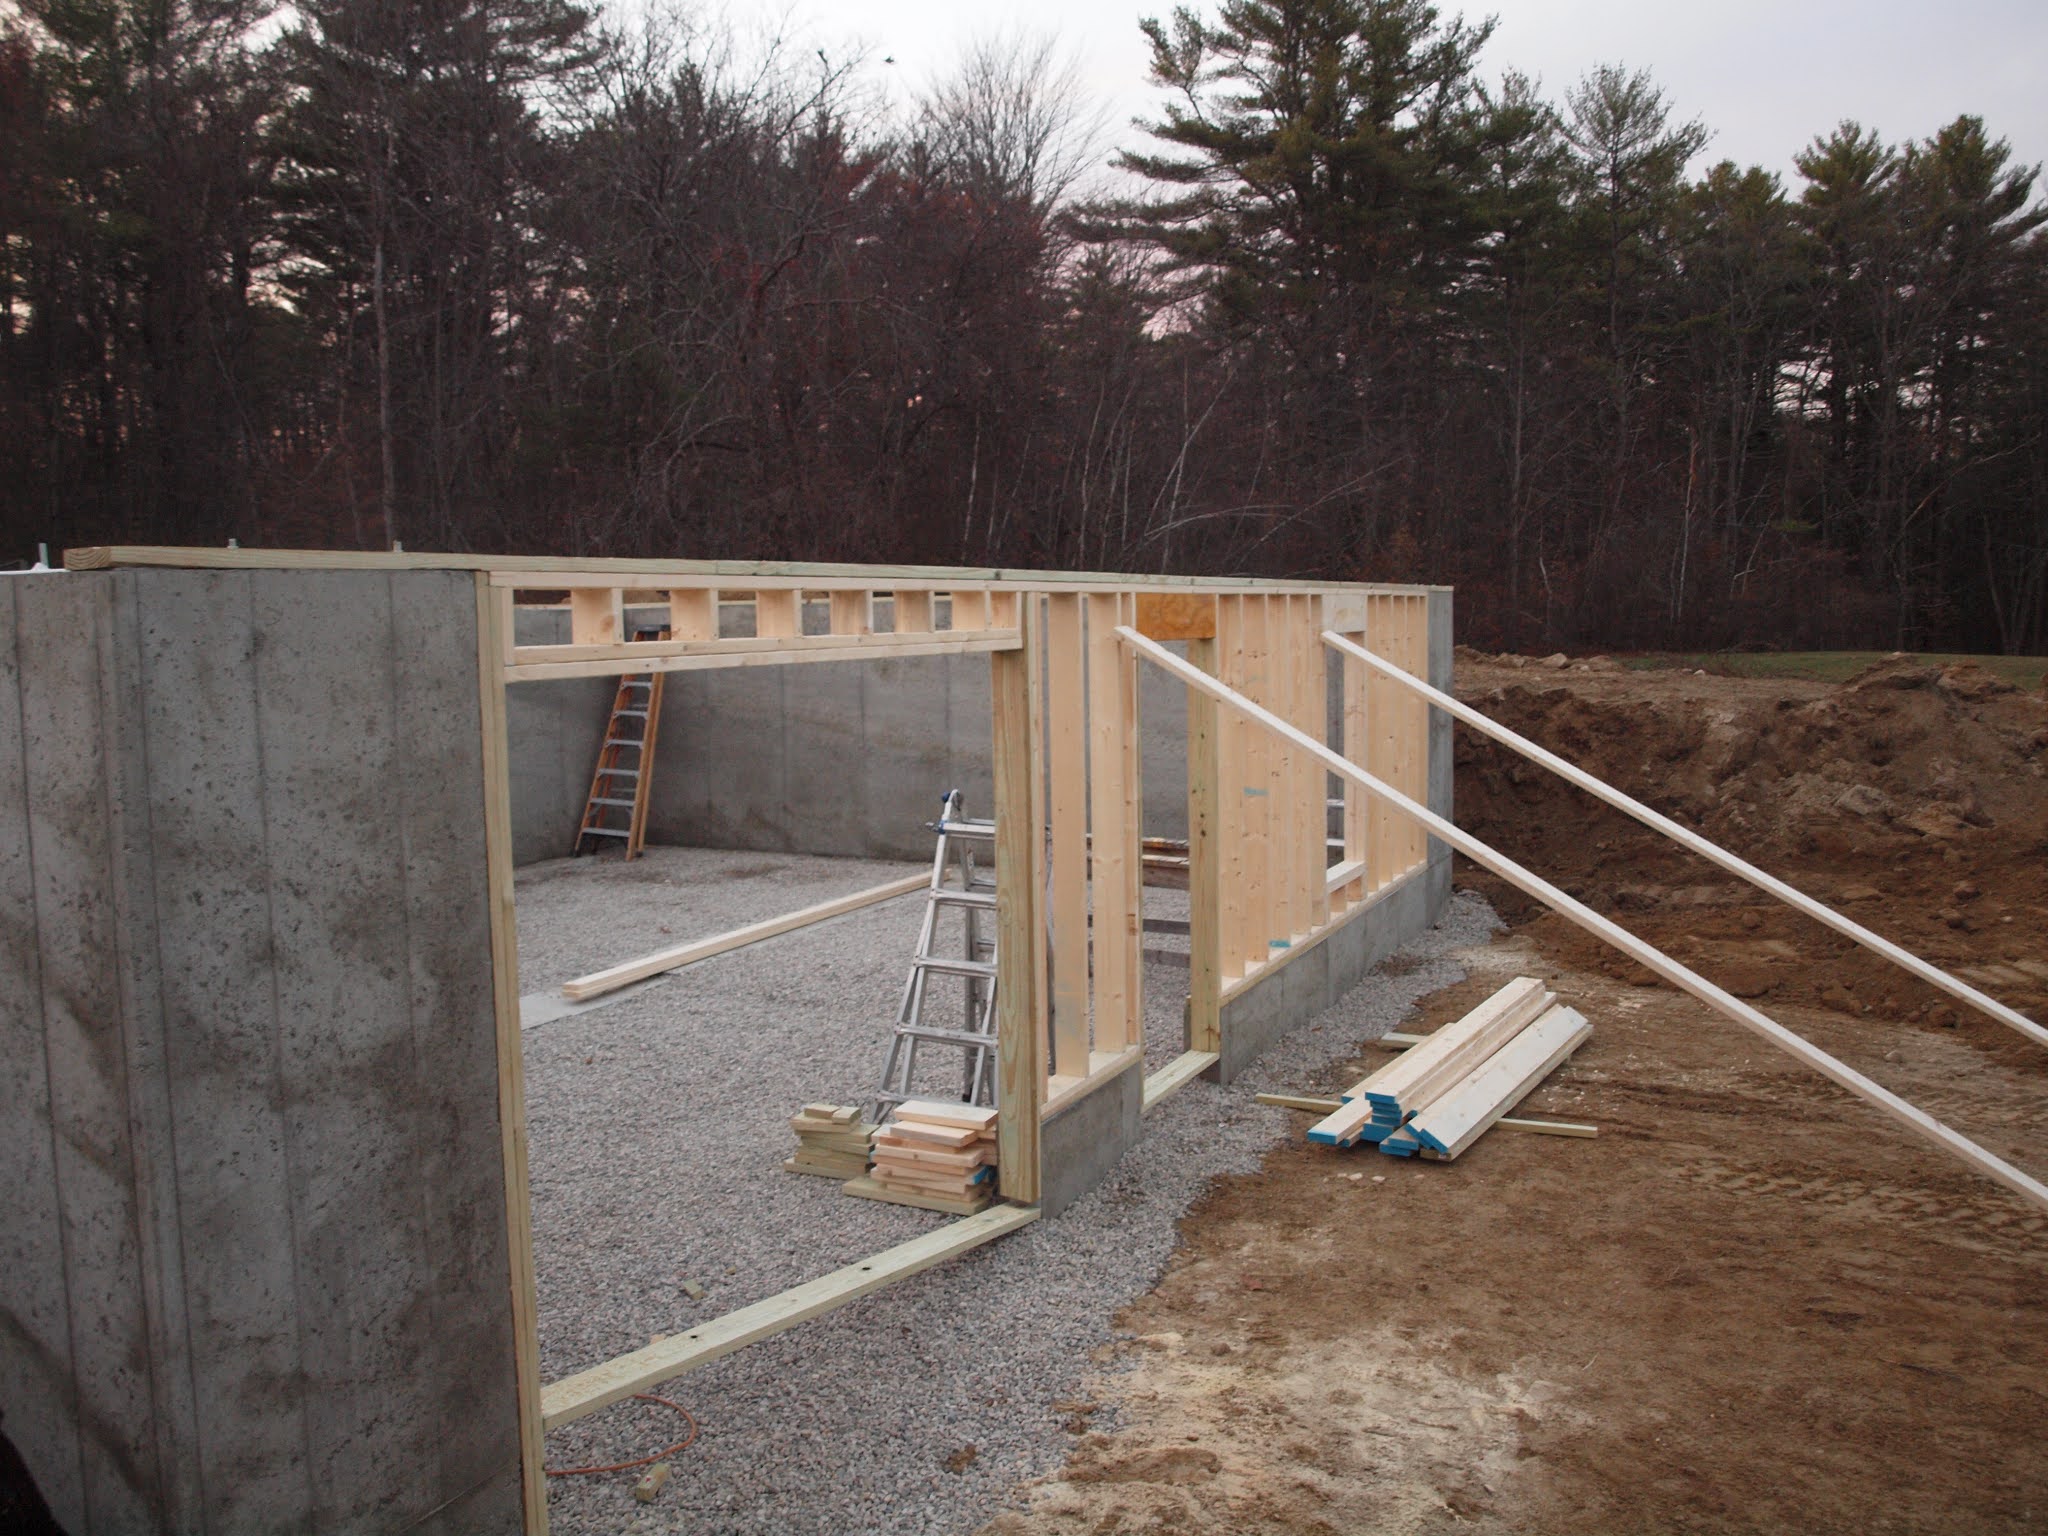
As far as the house goes, Day 15 was more framing and driveway work.  Apparently there's a discrepancy in the septic plans with the leach field, so they're waiting for the septic designer to come out and go over it before they actually start installing that part.  

Another materials delivery...


I also have an update on the solar light I put in the barn.  It came on automatically at 4:51pm last night.  I think the solar panel has a sensor that kicks on at a certain level of darkness, because it doesn't have a timer and it's dark inside the stall all day, but the light didn't come on at any other time.  Unfortunately when it comes on, it doesn't remember the level of brightness it was set to previously - it just goes straight to the brightest setting.  So long as I'm in the barn to adjust it, that isn't a huge deal.

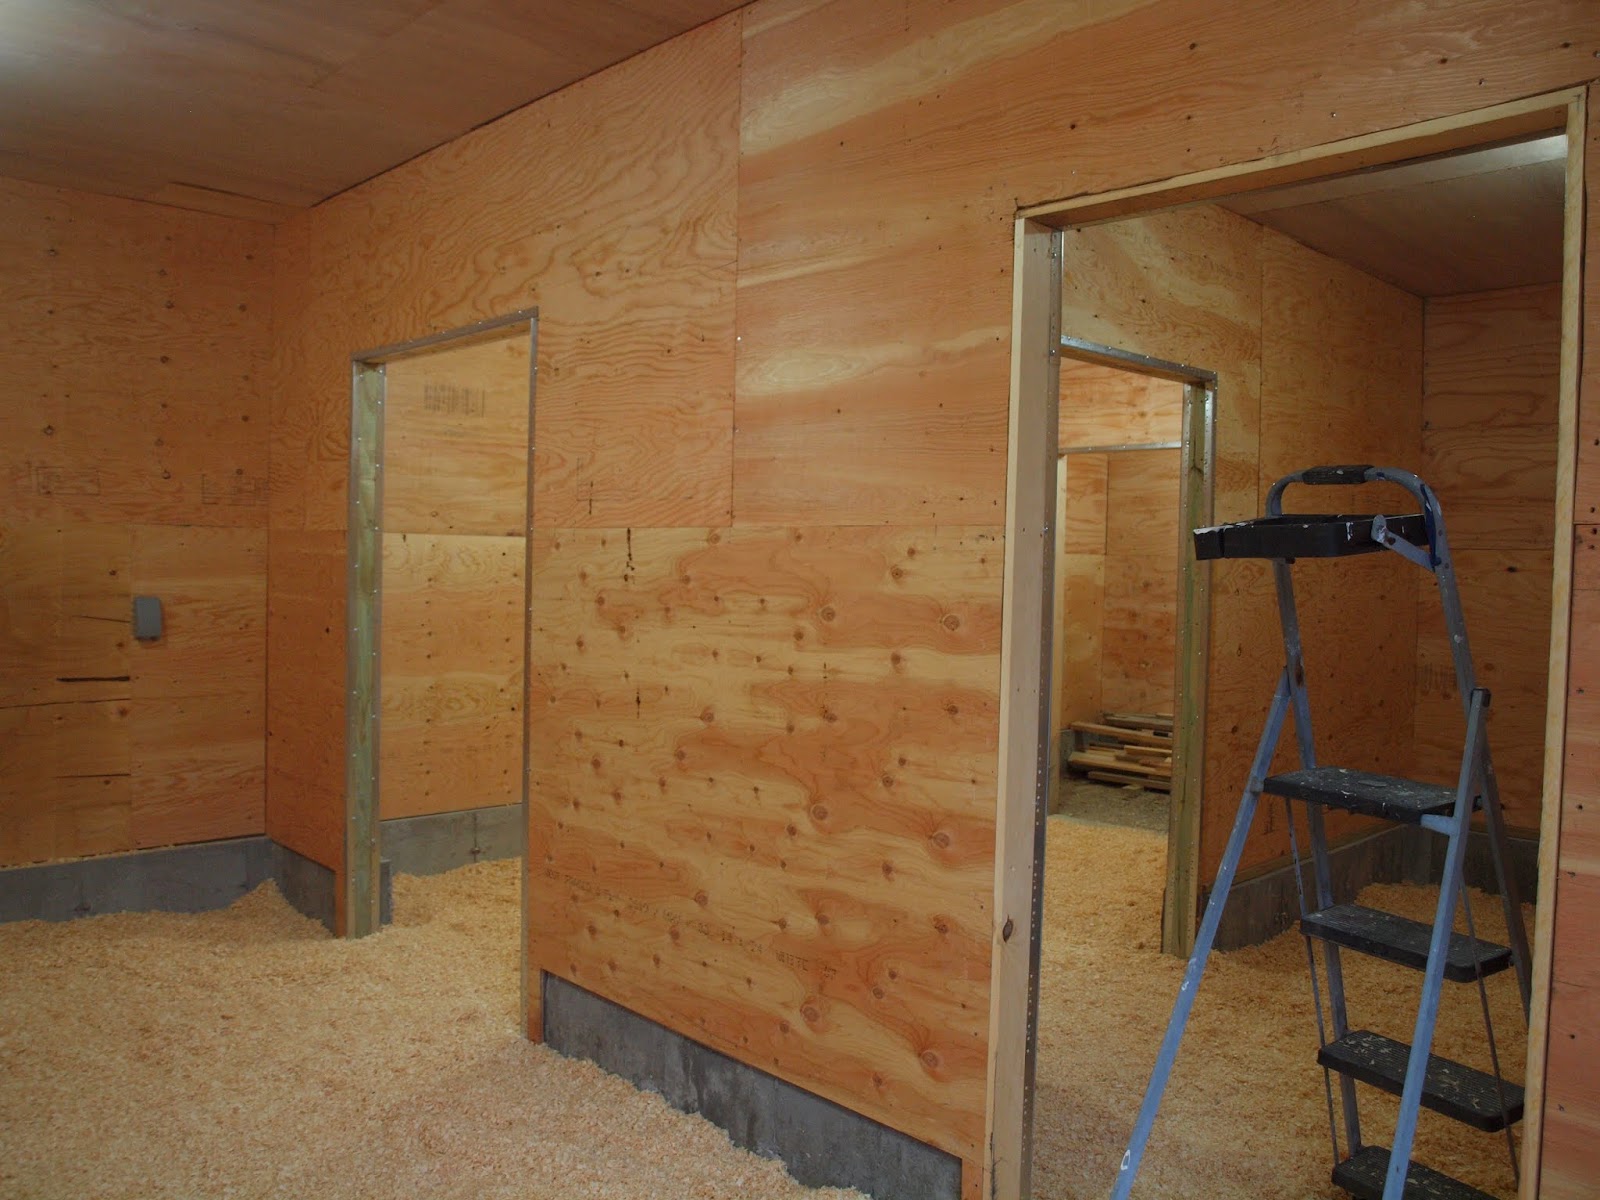
Here it is from the alley looking into the stalls.


That's a pretty bright light for something so small!  

Here it is on the brightest setting, then the most dim setting.


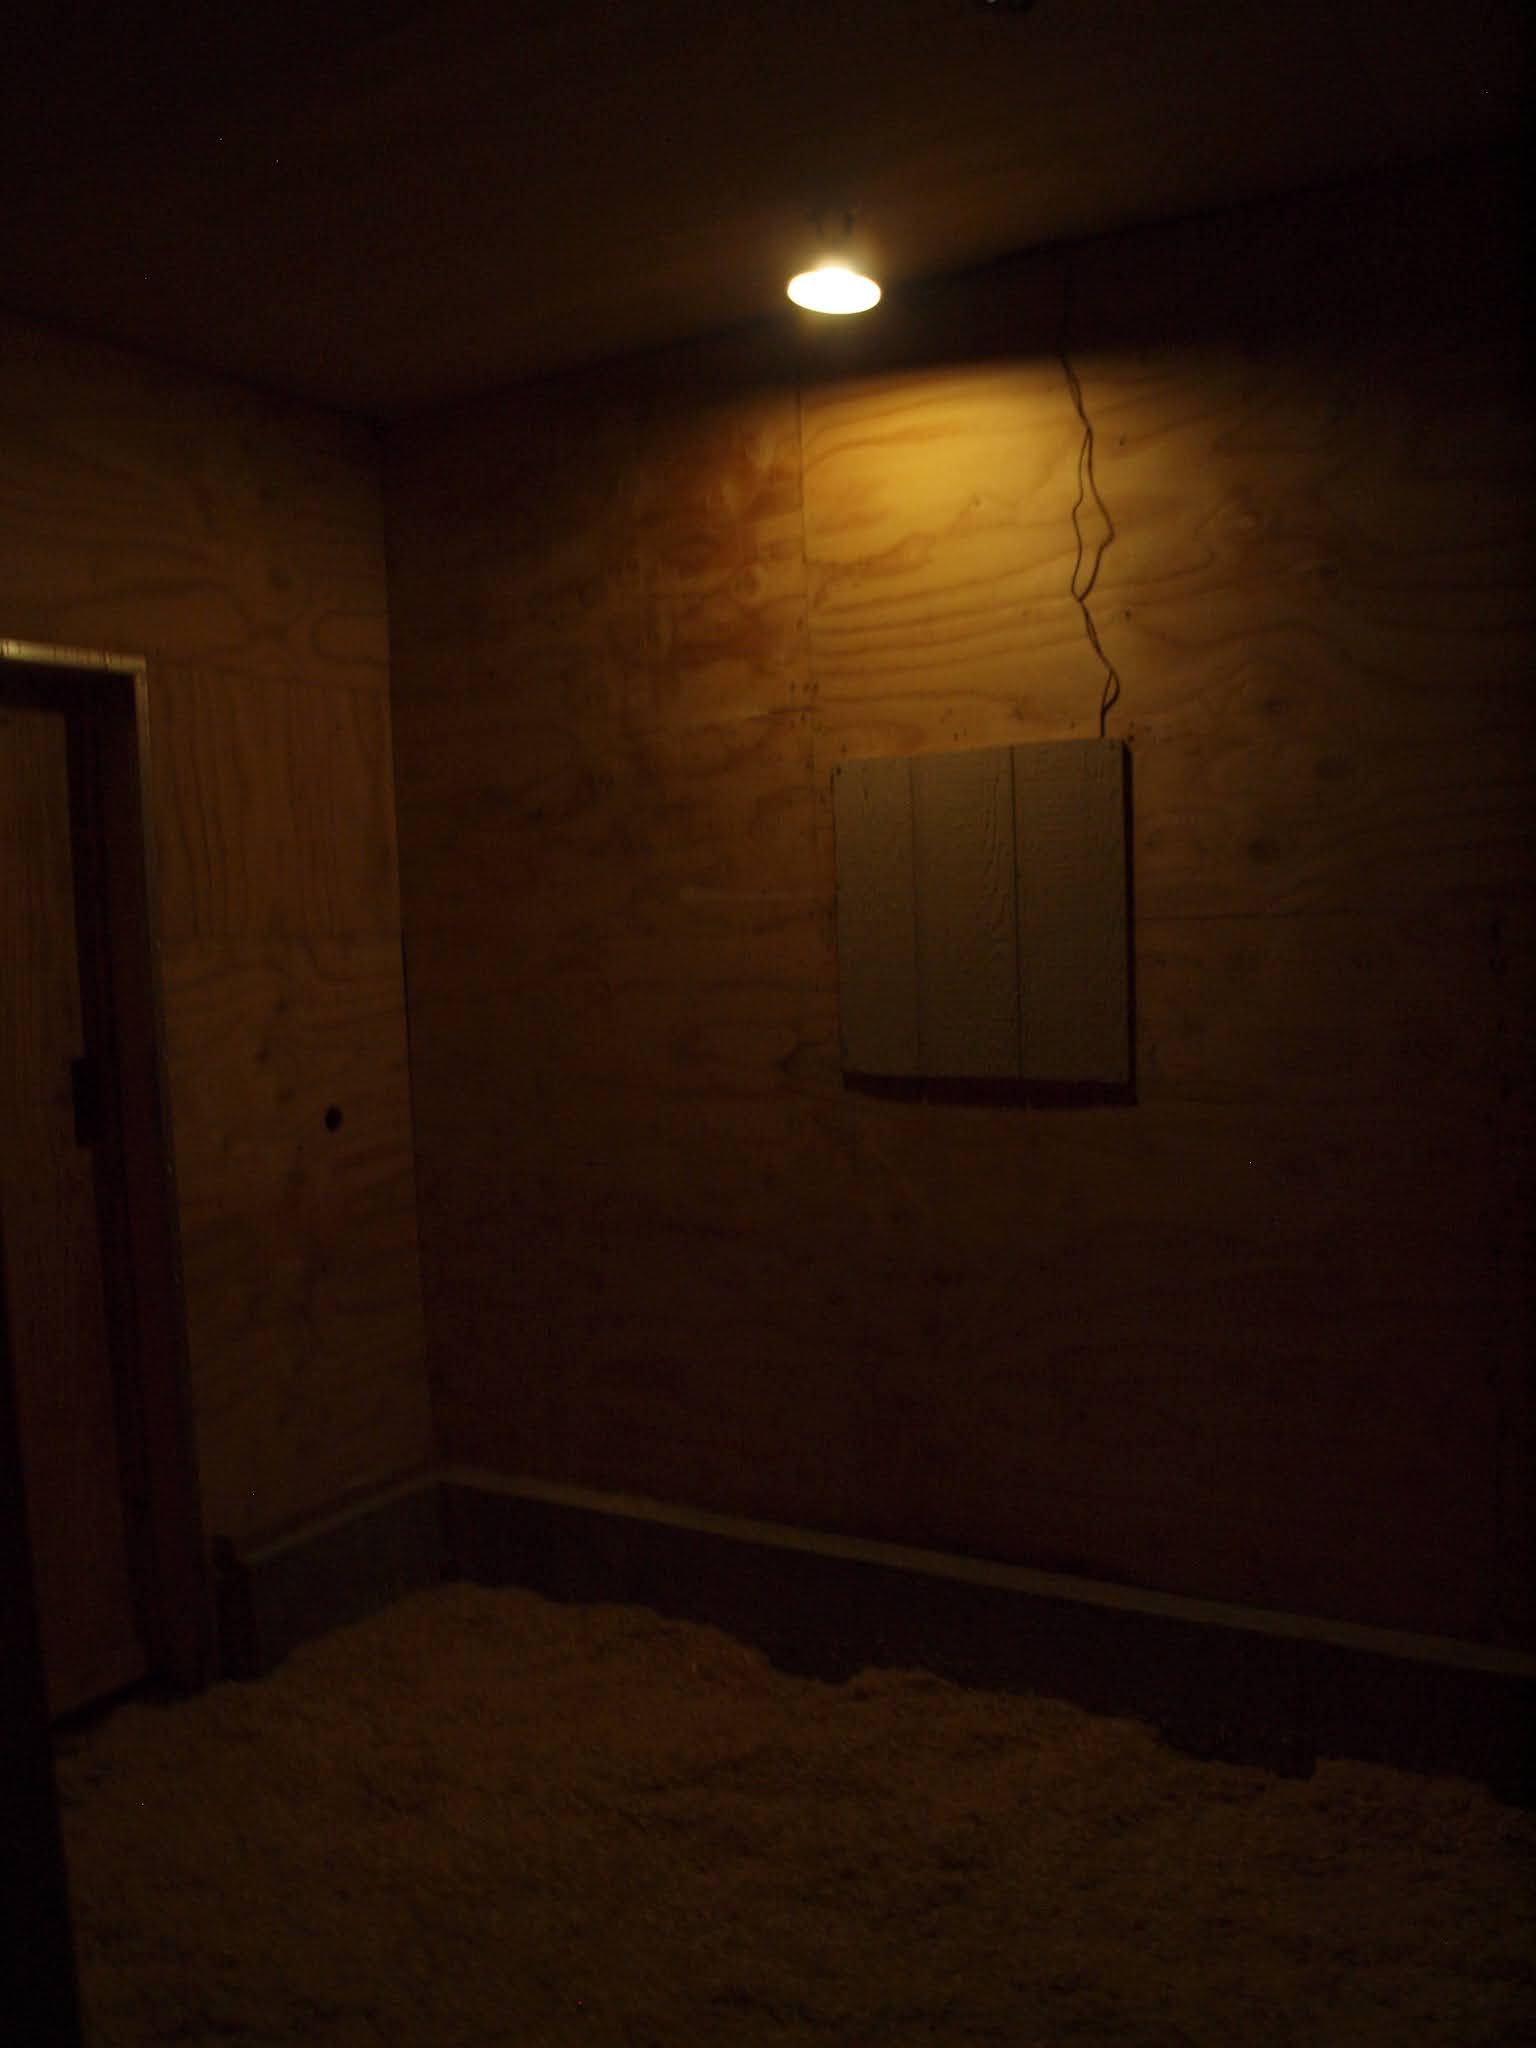
I'm really pleased with it.  I think I'll move it to the other side of the stall, though, so it shines more into the first stall to give me a little extra light in there.  It didn't look like the mules spent any more time or actually bed down in that back stall with the light on, but they did walk around in it during the night.  That's encouraging.  


Friday, November 20, 2020

Framing

 Hard to believe it's only been two weeks of activity - Day 14 is the day framing has begun!  The backfilling isn't finished, but he's been picking away at it.  It was a little bit of a shock to walk into the dining room and see this out the window:


I was very excited to see this happening; the contractor setting up for a little framing work.


And at the end of the day, the wall was framed.  You can see (barely; it was late!) the garage door, the "man door", and the window.  


I was late taking photos today because I was occupied with setting up a solar night light in Flea's stall.  I've put up the barrier wall between the stall and the run in for the winter, and closed up the little front window.  This makes that a very dark area, and I think the mules are hesitant to go in there because they don't have a good sight line in case of danger.  The stall has been open for nearly 3 weeks now and they hardly ever go in it.  I'm hoping adding a little light might encourage them to use this stall, as it's the most closed in, insulated part of the barn.  

I purchased a hanging solar light from Amazon.  I'm really impressed with how bright it was after only charging for about 6 hours on a cloudy day.  It has a dimming option, which is perfect.  When I'm done inside, I can turn down the brightness with the included remote so it's a softer light.  The mules don't need full on bright light, and this feature was the key reason I chose this setup.  I put the solar panel on the outside and ran the cord through the window, then hung the lamp part from the ceiling.  There's also an option for how long you want it to stay on, and I chose the longest duration.  It should shut off automatically in the early hours after midnight and re-charge during the day.  I'm so impressed with this lamp that I may buy a few more to have on hand for the back yard.  For now, it's a help to have it inside until I have my power back.


Thursday, November 19, 2020

The beat goes on

 Today was all about the foundation.  The general contractor put a waterproofing sealant around the outside of the walls, worked on piping that will run under the connecting room, and the excavating contractor backfilled the front wall of the basement.  Once that was filled and compacted, stone was laid on top of it and leveled.  Eventually a cement floor will be poured, but the foundation needs to be capped before that can happen.  The first delivery of building materials arrived, too.  

Day 13


I'm finally starting to get a feel for the size of the overall house, especially the basement. The garage will be a little more than half the space, and the remaining space will be split into two small rooms.  Since I'll mostly be coming into the house from the basement, the first room I walk into from the garage will be a mudroom and it's a little smaller than I had imagined it.  I'm not disappointed, though; I think it will be more than large enough.  

I'm really looking forward to the driveway being finished, and I hope that happens next.  The electric wires for the new barn run underground near the house site, so they pulled them to ensure they didn't rip them up accidentally.  I've been without power in the barn for a few weeks now, and with the shorter days and colder temperatures, it's been a little inconvenient.  Last night temperatures dipped into the teens, so I had multiple extension cords running from the old shed to the new barn to run the heated water bucket for the mules.  Not the most safe option, but luckily the temperatures look to be heading up for the next week and I shouldn't have to run the heated bucket again for some time.  I have a solar light coming that I'm hoping should light up Flea's stall and work better than my little headlamp.  I'll have to affix the little solar panel to the barn exterior and run the power cord in through the window, then affix the light to the interior wall.  This little hiccup has me rethinking my original barn design, and I may ask my son-in-law if he can put in a larger window in that wall sometime in the future.  Hindsight, you know.

Wednesday, July 8, 2020

Happiness is...

...a full hay room. 


399 bales (1 bale didn't pass muster) plus around 25 bales left over from last year.  So much hay that some of it had to be moved into Flea's stall, which has been closed off and is now my hay bag filling station.  Things are pretty darned tight in my little barn, but I'm prepared for another year, and that feels good.


I also had 5 yards of topsoil delivered, which I spread out in front of the barn. 


The next day I spread a little well aged manure over the top, laid down some grass seed, and covered that with the sweepings off the hay truck.  Let nothing go to waste!


Of course, going to waste is a subjective term; Fargo firmly believes spreading good hay where he can't reach it is a colossal waste.


Monday, June 29, 2020

Ooo La La! The French Drain Project

Although my tiny ditches were working to divert water away from the barn, they weren't a permanent solution.  A French drain, or area drain, definitely is.  Since Flea is in the midst of a health crisis, I can't really move the mules out of the way, so only half of the project is on the docket at this point.  This wasn't something I could do myself, so I had to hire someone with a tractor who knew what they were doing.  Our neighbor's son was just that person.

The drain system begins at the fence, where the water tends to pool the most, and follows the foundation around the corner and down the hay room access side and out to the edge of the woods.  It just so happens that the land at that point slopes downward, which is a perfect scenario for a drainage exit. 

The contractor started by digging a trench about three feet deep, pitching it down little by little as he went.  Luckily the water line is 4 feet below the surface, so that wasn't an issue, but the electric line was a little less deep.  Good thing the contractor was the son of the electrician who installed the line, so they were able to find it with no problem and dig below it.


He then filled the trench with 3/8 crushed stone, laid the drain pipe on top of that, and very gently filled the trench with more stone.  The stone allows the water to filter down to the pipe, which has slits throughout the length of it.  The slits allow the water to enter the pipe, which then directs it along the length and out the end of the drain if there is an excessive amount of water all at once.  The plastic pipe is covered in a "sock"; a nylon type of material that allows water to pass through it, but keeps silt and sand from plugging up the slits. 


The drain was finished just in time for some torrential downpours to test it out.  We've been lacking rain and are teetering on drought conditions, so this was a welcomed event.  I went out between thunder storms to see how things were holding up.  There was minimal ponding in front of the run in door, and some standing water along the driveway, well away from the barn.


By this morning, even after a night of on and off storms and showers, there was no more standing water.


Hopefully next summer I'll have the paddock squared away to the point that we can move the mules and install the same drain around the rest of the barn perimeter, but for now this a massive improvement.  Now I can get some topsoil on that area in front of the door and plant some grass.

Saturday, December 28, 2019

Year End Wrap Up

 I've been awful about keeping this updated, but here's the skinny.

The barn, though not completely finished, is in use.  There were some kerfluffles along the way, but those will be ironed out come spring.  I ended up going with a 4 foot frost wall foundation, which was what I had first planned on.  I'm glad I did, because it feels more solid overall than if it had just been set on sonotubes.  It needs painting, some finish carpentry, and the main aisle needs to be matted properly.  The biggest problem so far has been that after all the site work excavation that was done, the building now sits lower than expected.  Run off has been a huge issue and some flooding has occurred.  I've temporarily created some trenches and attempted to swale the ground to divert rain water and snow melt, but the ground is pretty well frozen so it's been difficult.  Once spring breaks I can hopefully get someone in here to build up the low spots, lower the high spots, and then I can get some grass seed planted.

The other issue I hadn't anticipated was the stone dust paddock.  While it worked perfectly at my old barn, it's been a huge disappointment here.  The only thing I can think is that at the old barn it went down on well packed ground, whereas at the new barn it was put on top of newly excavated soil.  Instead of acting like a sponge and allowing for drainage, the stone dust has held the water on top of the material, which has caused some icing issues.  It also doesn't self level like at the other barn, instead it acts like mud and holds hoof print shapes, creating uneven ground when it freezes.  Unlike muddy paddocks it's not as pronounced, so it's not ankle breaking ruts, just small divets.  I hope that in time it will provide the same kind of level, cushioned surface that I had at the other barn.

So far the hay storage section of the barn is working well.  I had to nix the wood floor because I would have lost square footage.  I ended up leveling the dirt floor, putting down tarps, then wood pallets, then screwed sheets of OSB board to those.  I ended up with a makeshift floor that was only about 8" tall, versus the over 1 foot of space I would have lost with a traditional framed floor.

The mules are very happy to have all that room inside.  We've had some wind events that drove them to the interior stalls and I was relieved to know they were snug and warm inside.  I haven't put a gate between Flea's stall and Fargo's stall yet.  If Flea's health declines to a point where he needs to be closed in a stall at night, then I'll go ahead and do that.  So far they've been quite happy with the open set up, with Fargo sleeping in the run in section and Flea bedding down in Fargo's stall.

There probably won't be any updates until things start to get going in the spring, so have a Happy New Year, and enjoy the rest of winter!


the foundation hole

exterior footings

interior footings

frost walls
fill and a water hydrant

more top fill

framing begins


siding begins


interior - from the hay storage room

exterior shot

the run in shed, looking into the hay storage, stalls on right

the aisle

trim work
trenching the electric

stone dust paddock

stone dust and road pack


Mom starts painting the trim
paddock fencing is up

back of paddock

interior - Fargo's stall looking into the run in

interior - run in, Flea's stall with ladder

looking out of the run in section

the aisle (aka tack and feed room)

filling the hay storage room
just add mules!

in time for winter