Monday, June 29, 2020

Ooo La La! The French Drain Project

Although my tiny ditches were working to divert water away from the barn, they weren't a permanent solution.  A French drain, or area drain, definitely is.  Since Flea is in the midst of a health crisis, I can't really move the mules out of the way, so only half of the project is on the docket at this point.  This wasn't something I could do myself, so I had to hire someone with a tractor who knew what they were doing.  Our neighbor's son was just that person.

The drain system begins at the fence, where the water tends to pool the most, and follows the foundation around the corner and down the hay room access side and out to the edge of the woods.  It just so happens that the land at that point slopes downward, which is a perfect scenario for a drainage exit. 

The contractor started by digging a trench about three feet deep, pitching it down little by little as he went.  Luckily the water line is 4 feet below the surface, so that wasn't an issue, but the electric line was a little less deep.  Good thing the contractor was the son of the electrician who installed the line, so they were able to find it with no problem and dig below it.


He then filled the trench with 3/8 crushed stone, laid the drain pipe on top of that, and very gently filled the trench with more stone.  The stone allows the water to filter down to the pipe, which has slits throughout the length of it.  The slits allow the water to enter the pipe, which then directs it along the length and out the end of the drain if there is an excessive amount of water all at once.  The plastic pipe is covered in a "sock"; a nylon type of material that allows water to pass through it, but keeps silt and sand from plugging up the slits. 


The drain was finished just in time for some torrential downpours to test it out.  We've been lacking rain and are teetering on drought conditions, so this was a welcomed event.  I went out between thunder storms to see how things were holding up.  There was minimal ponding in front of the run in door, and some standing water along the driveway, well away from the barn.


By this morning, even after a night of on and off storms and showers, there was no more standing water.


Hopefully next summer I'll have the paddock squared away to the point that we can move the mules and install the same drain around the rest of the barn perimeter, but for now this a massive improvement.  Now I can get some topsoil on that area in front of the door and plant some grass.

Friday, June 19, 2020

Tear Down That Wall

So...learn from my mistakes.

I finally decided to break down and buy a proper mason's string for the next tier of the garden project.  I pounded short pieces of rebar in at each back corner, dug my trench, and started running my block. 


Well, lo and behold, my wall is woefully out of whack.  The new wall should be the same number of blocks across as the first wall, but I'm off by about half a block.  I could just finagle it and keep going, but I walked away for about a week and it's been driving me crazy thinking about it.  The other issue is "close enough to level" has rendered a wall that's higher on one end than the other.  I've decided to keep going with the new wall, straight and true, and I'll tear out the first wall and rebuild it so it's level and square.  *sigh*


That's a lot of work down the tubes, but I'd rather have it right than good enough.

In the meantime, the vegetable garden is thriving.  Well, everything except the Tumbling Tom tomato and the Tractor Supply strawberries.  I'll transplant my healthy strawberries into that bed once I've picked the berries; I don't want to disturb them while they're producing.  In the meantime, I'll snip any blossoms that the plants put out so when I do transplant them, they can have a chance to set roots and adjust to their new home before working hard to make fruit.


One of my "black" iris has bloomed.  The other I planted too deep and it just produced leaves, but hopefully I'll be transplanting that into one of the tiered gardens and I'll fix that issue when I do.


Bearded Iris "Here Comes the Night"

And I found this crazy beautiful moth in my barn the other day.  It's a Giant Leopard Moth.  How cool is that?


I've also built another cat yard for the girls, three times the size as last year's.  It's pretty redneck looking (think chicken run with patio furniture), so no pictures of that.  I also set up a very small area for pasture acclimation for the mules.  I've only let them on it once so far, because Flea's had some intermittent lameness issues related to his insulin resistance, but that's a topic for another post.  The vet is due out today, so we'll see if we can get him right for summer and allow for pasture turnout.  Poor mules haven't been out of their paddocks since October 2018, just before I sold the other house. Fingers crossed for good results today!

Sunday, June 7, 2020

Perennial Bed Project, Go!

I've had enough poison ivy, so the clearing by the road is abandoned for now.  *scratches violently*

I've finally knuckled down and started working on my perennial beds.  Let me tell you what, I am definitely not 20 years old anymore.  Hell, I'm not even as spry as I was five years ago.  I'm not entirely happy with my end product, but I just didn't have it in me to rip the wall apart for a fourth or fifth time to set it straight.  I also have to admit this is a project I probably shouldn't have tried on my own, but the first wall is done, it's good enough for plants, and I have my doubts that it will last the winter. 


You can see the small dips and rises along the top line.  Try as I might, I couldn't seem to keep things level.  Had I been using mortar, I might have been able to make small corrections.

I packed the blocks with gravel to help add some stability to the wall.  I had hoped to pound short pieces of rebar at strategic points to reinforce it, but that didn't happen.  There is so much rock in this ground that I couldn't find a spot where the bar would sink more than an inch, and that was using a sledgehammer. 

I'm hoping any water will seep through the mortarless cracks and trickle down through the stone within, providing enough drainage that it won't be an issue.  I've been using the abundance of potato-sized stones from the dirt I've dug out to fill in behind the block for more drainage.  A layer of gravel, a layer of potato rock, a mix of gravel and topsoil on top of that. 

I can see this going one of two ways; either the pressure of the dirt against the dry stacked wall will push it forward and collapse it, or a miracle will occur and it will stand.  I could have staggered the rows back a little each course to work against the pressure from behind, but I really wanted a smooth faced wall.  I've seen a product that is made for short walls like this, a kind of stucco material you can use to bond it together and give it a little more stability.  I may look into it once the other two tiers are finished.  *sigh*  Finished.  I can't wait.


Wednesday, June 3, 2020

Mulching 'n Stuff

I've been trying to lay low and rest up for my next project, but I always seem to find some little thing to do that turns into a big thing I have to finish. 

After finding the old apple tree near the road, I decided I'd like to clear the young maple and oaks that were beginning to crowd it out and shade it from the much needed sunlight.  Taking a few trees turned into an all day Chainsaw Fest, and the next thing I knew I had cleared most of the trees along the stone wall.  I also discovered a smaller apple tree that was hidden within the stand of young trees.

The V shaped tree is the old apple.

    The smaller apple tree.

I'm still working on taking a few last trees, and am happy with how open it looks.  This surprises me, because my original idea was to leave this an overgrown mess to ensure privacy.  Now I have a vision (don't I always?) of the area cleared to the wall, save for the apples and larger oaks, and planted with grass.  I can fence along the driveway and up to the smaller apple tree for the mules.  I've left a few birches near the driveway and may take those, but for now I think I like them.


In the vegetable gardens, I've applied a layer of mulch to most of the beds.  The mesclun/spinach/mustard green section is just coming up and I couldn't cover the tender little greens.  Everything else has a beneficial top layer, though.  Mulch helps protect the soil from drying out, keeps weeds down, and can add nutrients to the soil.  I chose natural cedar bark mulch, because it's what my local hardware store had on hand, and I didn't feel like heading into the woods to rake pine needles.  Yes, I was being lazy!


Everything seems to be thriving except for the newly planted strawberries, which were bare root purchased at Tractor Supply, so it may be that they're just crap.  The onions are doing ok, but I've had a few of them rot.  Research tells me this could be from a fungus.  If that's the case, I'll most likely lose all my onions and have to plant something else in these beds.  I'm hoping it's just a combination of late planting, over watering, and insane temperature fluctuations this spring, but we'll see.  It may just be that I'm not cut out to be an onion farmer.  Other than that, I've lost one cucumber plant that twisted on its stem and broke.  I've toyed with the idea of planting a few more seeds to augment the cucumber crop.  If I'm going to do that, I'd better get it done now.  New England growing seasons are notoriously short, and time's a-wasting.

Monday, May 25, 2020

Raised bed installation, Part 5 - Fini!

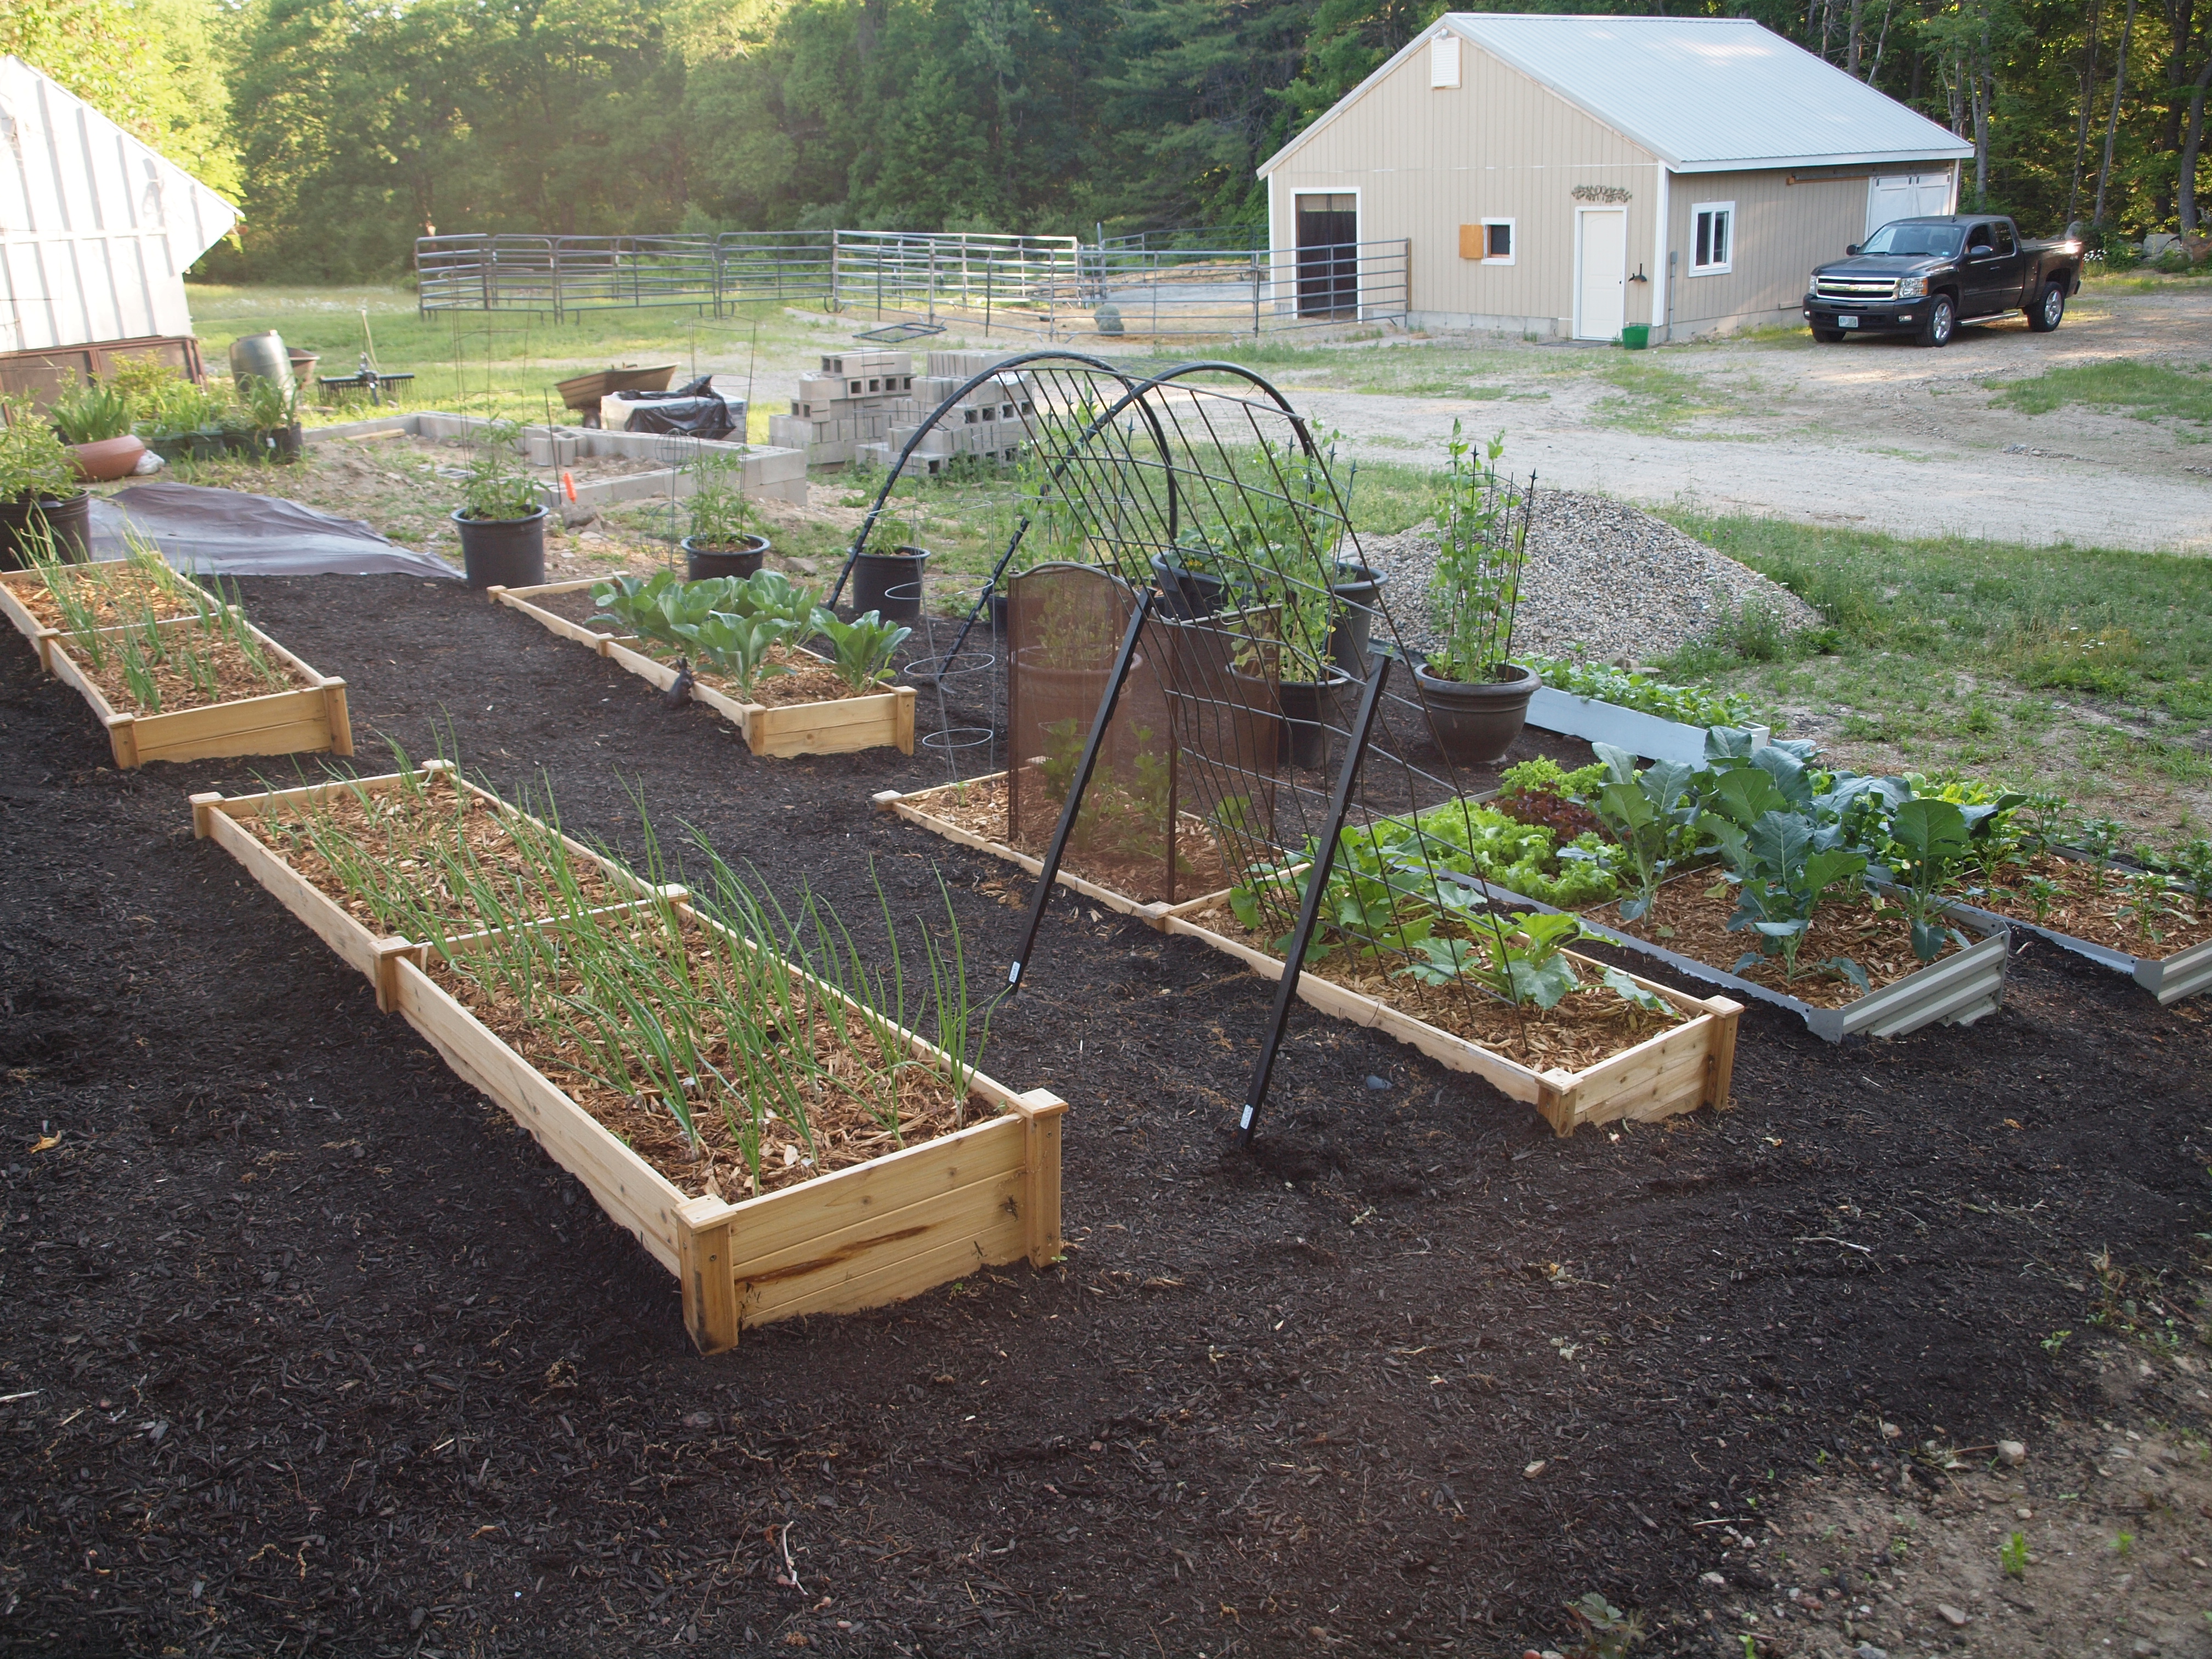
The vegetable portion of my grand garden scheme is finished!

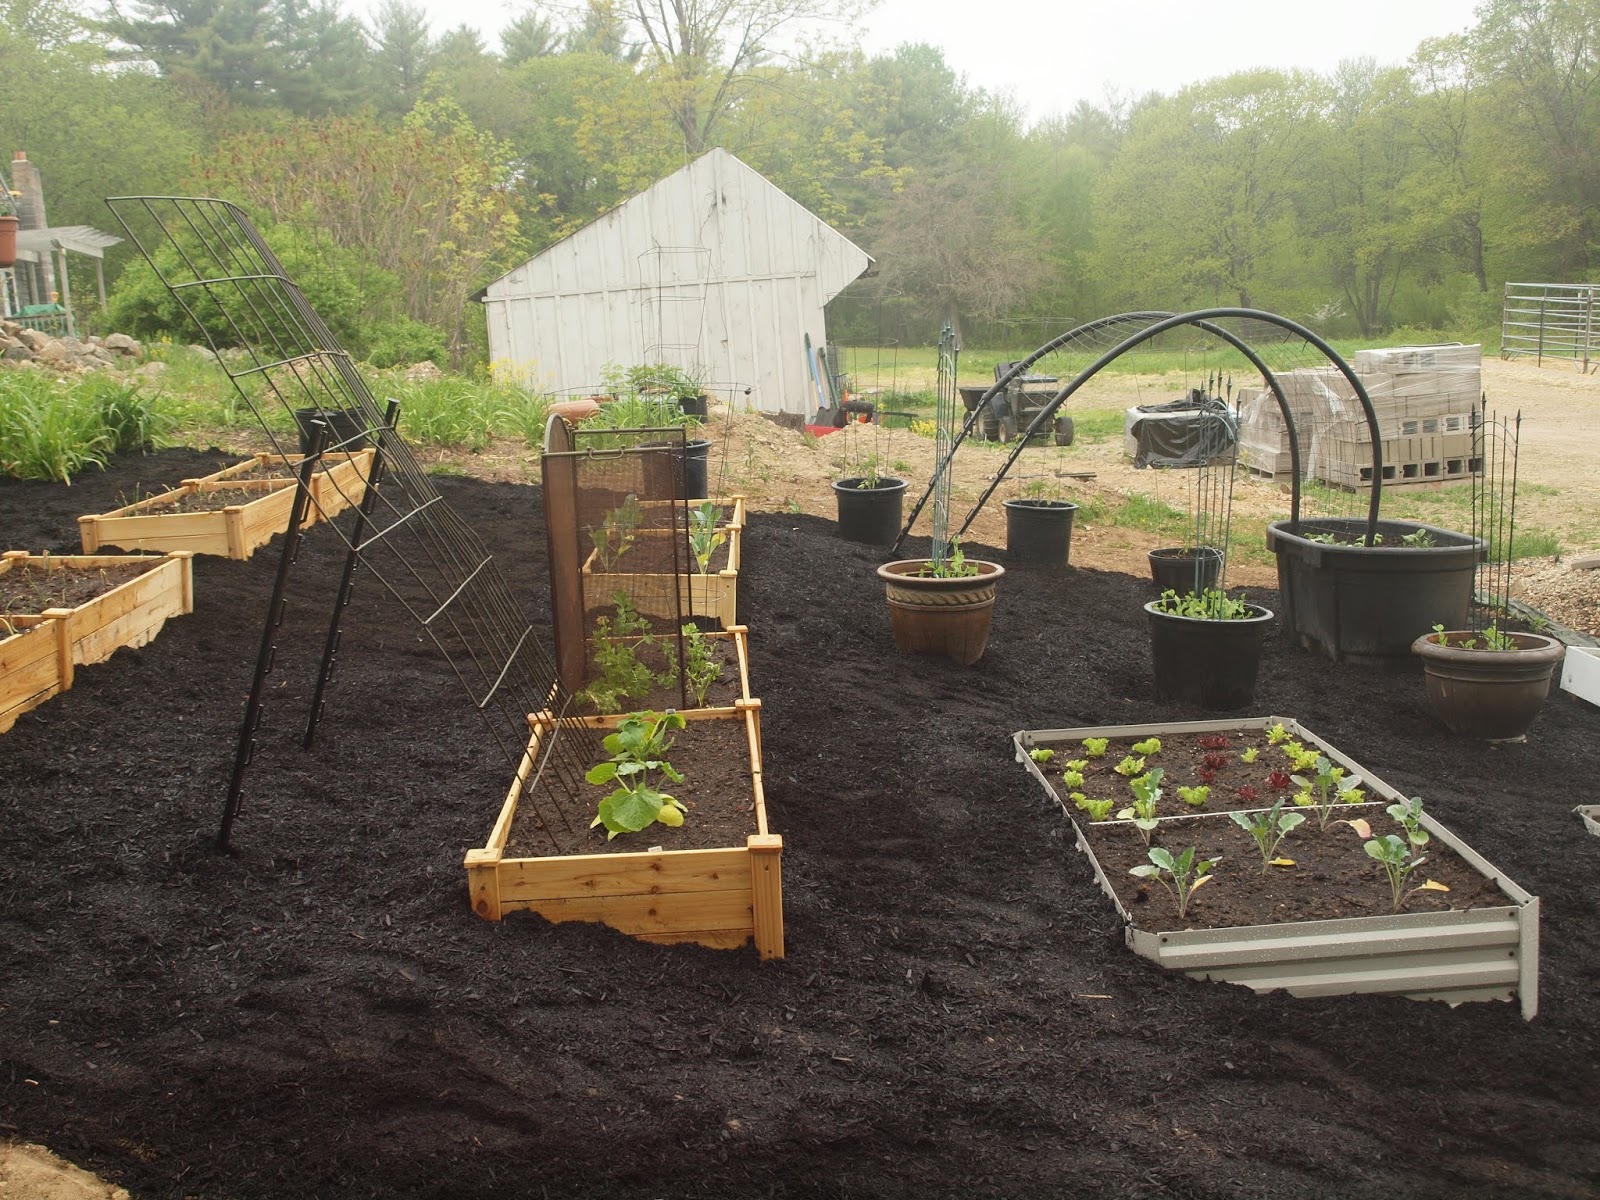
Lest we forget, here is the area in question, June 2019.


More recently:


And now...


I can't wait to get the tiered gardens done now, so that the whole hill looks as nice as the finished section!

I made a quick squash trellis out of an old, bent piece of hog panel I had on hand.  (I am Yankee, see me hoard.)  The step-in posts I use for temporary electric fencing for the mules worked perfect as braces to hold it on an angle.  I also used them to hold up the cucumber trellis.


That's nearly 3 yards of bark mulch, which was much easier to bucket up the hill than dirt.  My only concern is a heavy downpour sending it all down the hill...we'll see what happens.

I managed to plant all of my peonies along the wall, and mulched around those.  I didn't use weed block around them, just laid out newspapers and plopped the mulch on top.  That stump sitting on top of the big rock is a sumac that I was able to pull by hand.


Yup, definitely happy.
And sore.
And a lot lighter in the wallet.

Worth it!

Sunday, May 24, 2020

Raised bed installation, Part 4...oh, my aching body.

Well, the last two beds are in and filled.  One is even planted, so...yay.  I'm aching from stem to stern.  Pick-axing this stony soil, hauling buckets of dirt and manure uphill, crouched over raised bed kits furiously trying to put them together, pounding landscape pins into the weed block, only to hit a rock and have the pin bend into impossible shapes...thank goodness the end is sight, because I need a rest.  All that's left to do is put up a trellis for the squash plants and spread the bark mulch when it arrives.  Of the four metal raised beds, I only installed the two larger ones.  I decided to reserve the two smaller beds for the shade plants that I'll use as stock plants (or as I like to call them, "mother plants").  I must say, I'm pretty pleased with the setup, even if it's a little different than I'd imagined.


Once the bark mulch is down, I'll move the window box radishes under the cucumber arch. 
So far I've planted onions, scallion, cherry tomatoes, beefsteak tomatoes, horseradish, bell peppers, one chili pepper, celery, tomatillo, cauliflower, strawberries, sugar snap peas, broccoli, lettuce, radish, cucumber, herbs, and once the trellis is done I'll plant a summer squash and a zucchini.  Whew! 

A word on the metal beds - stick with wood.  The smaller ones aren't bad, but the metal is thin and once filled, tends to bulge the sides on the longer ones.  There are metal rods for the center that are supposed to pull it together, but they're very weak and I've snapped two of them already.  I like the look of them, but the durability is just not up to par. 

So now it's on to the final stage!  *waves hands weakly*

Friday, May 22, 2020

Raised bed installation, Part 3

I'm about half way there!  Here's an interesting dilemma: I have more space than I expected, and I haven't even put in the last four beds.  I may have to grow more vegetables...

The last few days have mostly been about putting down more weed block and getting my cucumber tank moved.  I have always used a hugelkultur type approach to larger containers.  Chunks of wood and sticks in the bottom, a layer of natural composty stuff (leaves, the nasty hay left over in the mule paddock after winter, pine needles, etc.) over that, a layer of aged mule poo, a layer of dirt, and then any soil amendments I may think necessary mixed in (peat moss, vermiculite, etc.).  I think I've explained the theory before, but basically the wood rots slowly and helps to create pockets of air and moisture, the composts rot and help to create heat, and it creates a nutrient filled bed of rich organic materials.  Eventually. 

When I began to deconstruct my stock tank garden, one of the things I was pleased to find was the layer of natural compost had really broken down nicely.  I dug everything out except the wood and moved the tank to the new garden, then added some more mule poo and replaced the soil.  Hopefully this will be the last time I have to disturb the natural decaying process in this tank.

You can see how nicely the organic materials have broken down over the sticks. 

Mule poo in, now covering with soil.  I'll fill it nearly to the top.
Once it was filled, all I needed to do was add the arch (welded wire and plastic water pipe zip-tied together - it's lasted over 5 growing seasons so far!) and my cucumber plants.  I think once the bark mulch is down, I'll put a small bed underneath the arch for a second planting of one of the cool weather crops.  I'm not sure what, but by the time I plant, the cucumber vines will provide dappled sunlight for a more shade tolerant crop like lettuce or radish.  I'll plant sweet basil in front of the cucumbers to utilize the extra space in the stock tank.  I did that last year, and it worked really well.


At the top of the slope I have the 3 cherry tomato plants in containers, and I've started placing peony plants to see where I'd like them planted.  I am going to try to find a hardy lavender to also plant along the front of the stone wall. 


I've given up trying to dig up all the day lilies my mother had tossed over the bank and allowed to run free.  They'll add a little color in mid to late summer.  I also finally planted my horseradish plant.  This is a piece off a plant I've had for years.  My Grampy gave me a cut top off his plant and told me to put it in water until it had a good root system, then plant it.  I did just that, and the plant thrived.  I've taken a piece of that plant with me every time I've moved.  It's a connection to my Grampy, and horseradish is also a pretty plant.  It has delicate white flowers, and paired with the cream colored peonies, is really quite beautiful.  Plus I love those Jurassic sized leaves.

horseradish surrounded by a stone circle so I don't step on it
horseradish flowers at my previous house

peony surrounded by horseradish flowers

Sunday I have a load of bark mulch coming, so the plan now is to set up the last of the raised beds today, and get the weed block down in preparation.  Busy, busy!