I've been awful about keeping this updated, but here's the skinny.
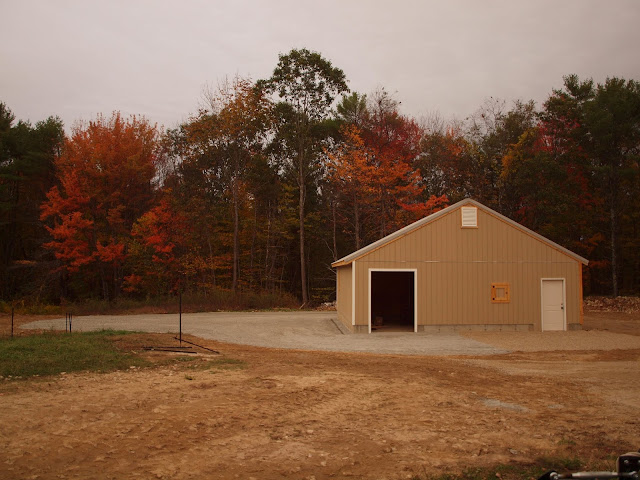
The barn, though not completely finished, is in use. There were some kerfluffles along the way, but those will be ironed out come spring. I ended up going with a 4 foot frost wall foundation, which was what I had first planned on. I'm glad I did, because it feels more solid overall than if it had just been set on sonotubes. It needs painting, some finish carpentry, and the main aisle needs to be matted properly. The biggest problem so far has been that after all the site work excavation that was done, the building now sits lower than expected. Run off has been a huge issue and some flooding has occurred. I've temporarily created some trenches and attempted to swale the ground to divert rain water and snow melt, but the ground is pretty well frozen so it's been difficult. Once spring breaks I can hopefully get someone in here to build up the low spots, lower the high spots, and then I can get some grass seed planted.
The other issue I hadn't anticipated was the stone dust paddock. While it worked perfectly at my old barn, it's been a huge disappointment here. The only thing I can think is that at the old barn it went down on well packed ground, whereas at the new barn it was put on top of newly excavated soil. Instead of acting like a sponge and allowing for drainage, the stone dust has held the water on top of the material, which has caused some icing issues. It also doesn't self level like at the other barn, instead it acts like mud and holds hoof print shapes, creating uneven ground when it freezes. Unlike muddy paddocks it's not as pronounced, so it's not ankle breaking ruts, just small divets. I hope that in time it will provide the same kind of level, cushioned surface that I had at the other barn.
So far the hay storage section of the barn is working well. I had to nix the wood floor because I would have lost square footage. I ended up leveling the dirt floor, putting down tarps, then wood pallets, then screwed sheets of OSB board to those. I ended up with a makeshift floor that was only about 8" tall, versus the over 1 foot of space I would have lost with a traditional framed floor.
The mules are very happy to have all that room inside. We've had some wind events that drove them to the interior stalls and I was relieved to know they were snug and warm inside. I haven't put a gate between Flea's stall and Fargo's stall yet. If Flea's health declines to a point where he needs to be closed in a stall at night, then I'll go ahead and do that. So far they've been quite happy with the open set up, with Fargo sleeping in the run in section and Flea bedding down in Fargo's stall.
There probably won't be any updates until things start to get going in the spring, so have a Happy New Year, and enjoy the rest of winter!
 |
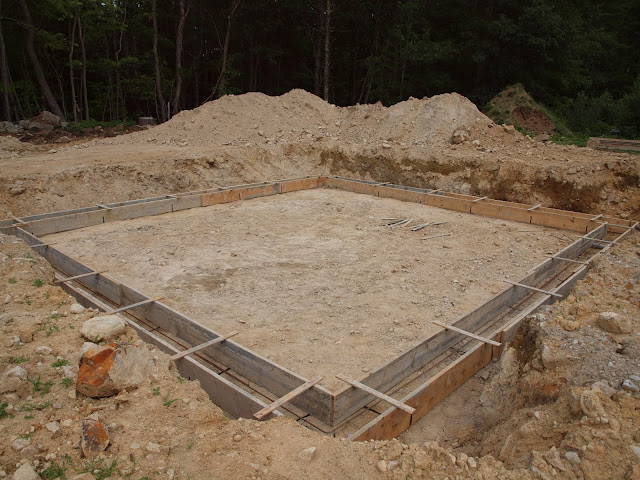
| the foundation hole |
 |
| exterior footings |
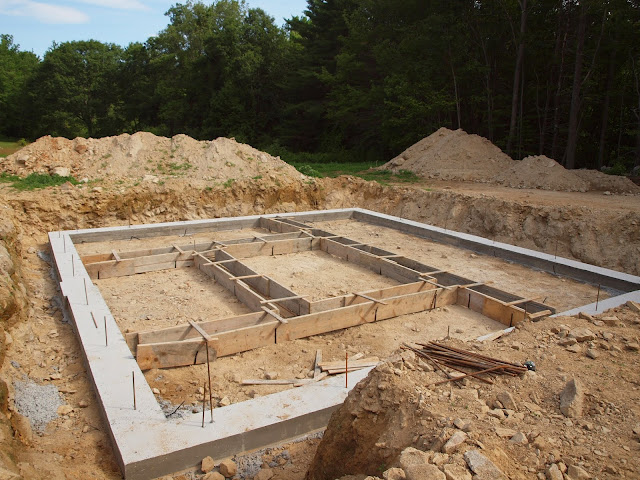 |
| interior footings |
|
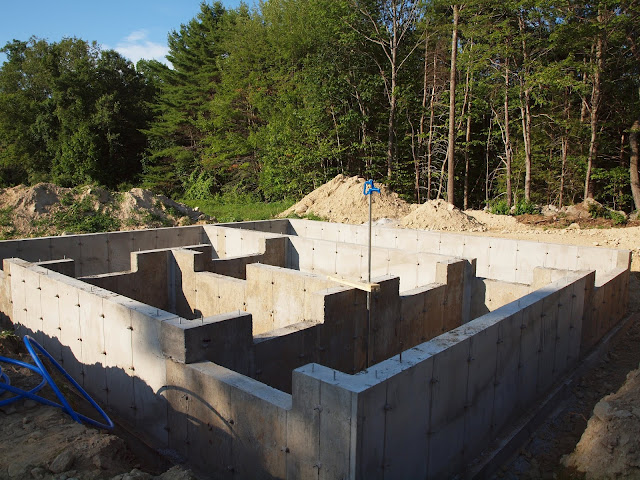 |
| frost walls |
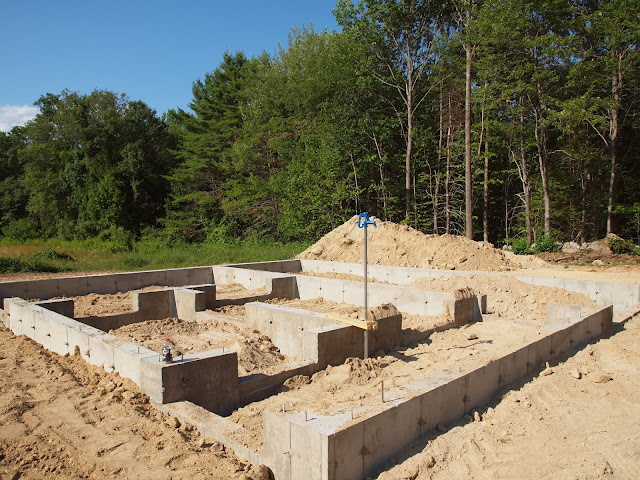 |
| fill and a water hydrant |
 |
| more top fill |
 |
| framing begins |
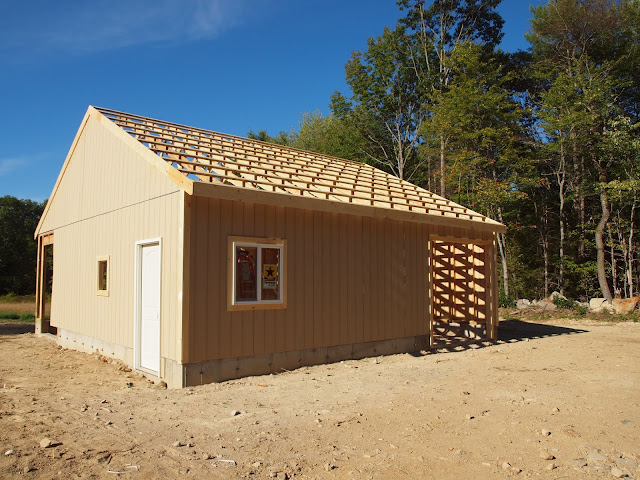 |
| siding begins |
 |
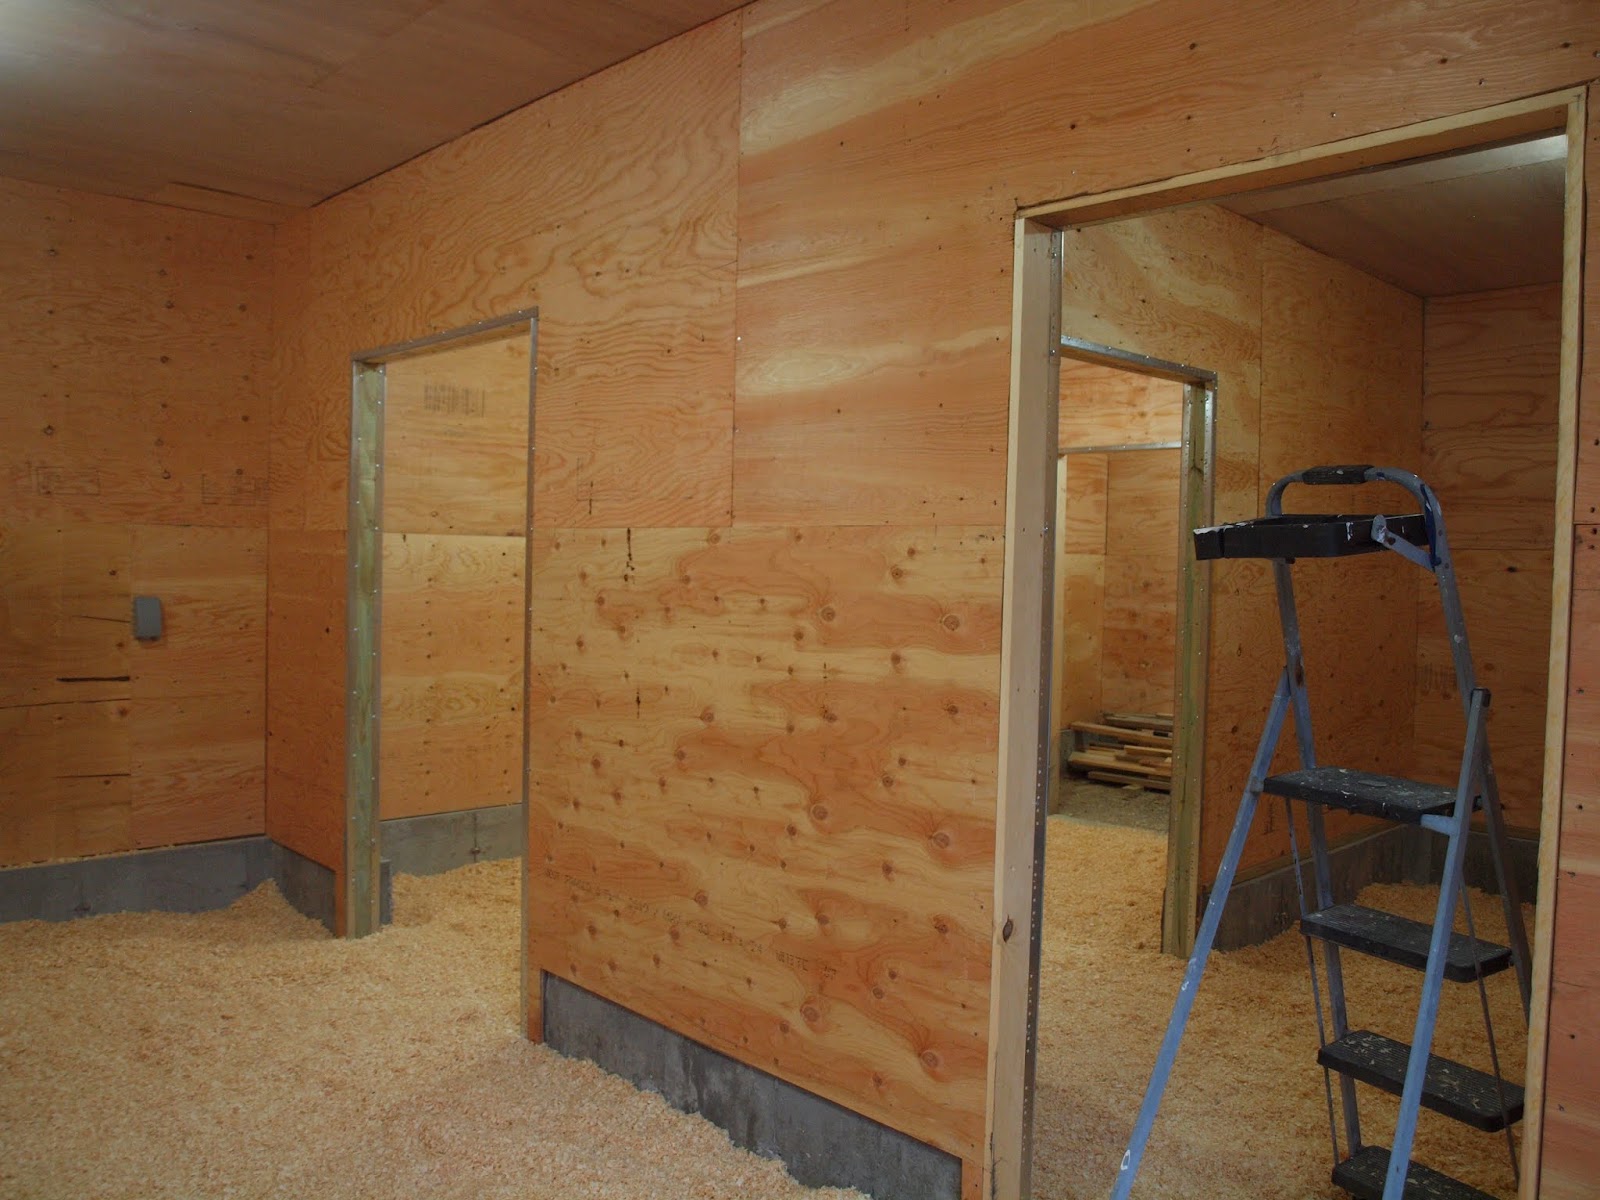
| interior - from the hay storage room |
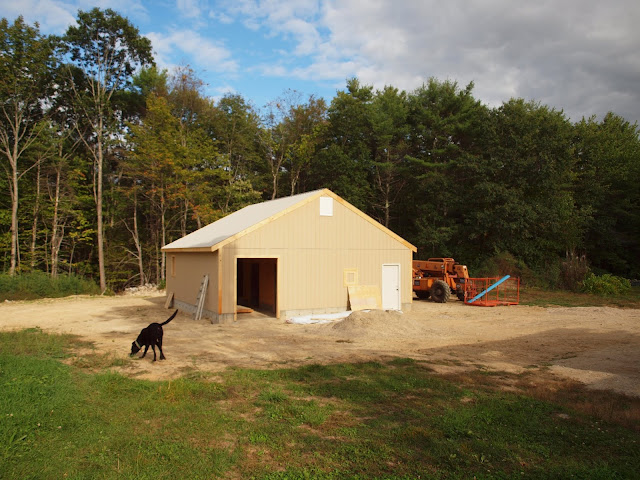 |
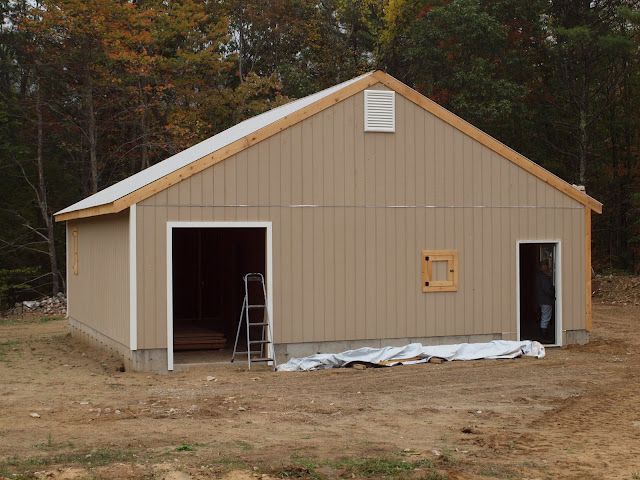
| exterior shot |
 |
| the run in shed, looking into the hay storage, stalls on right |
 |
| the aisle |
 |
| trim work |
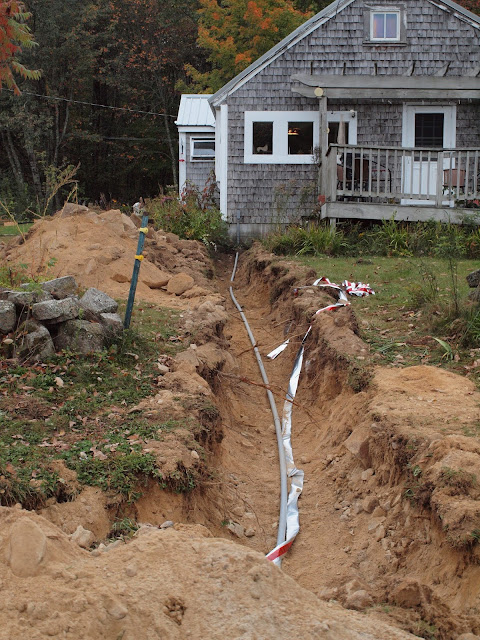 |
| trenching the electric |
 |
| stone dust paddock |
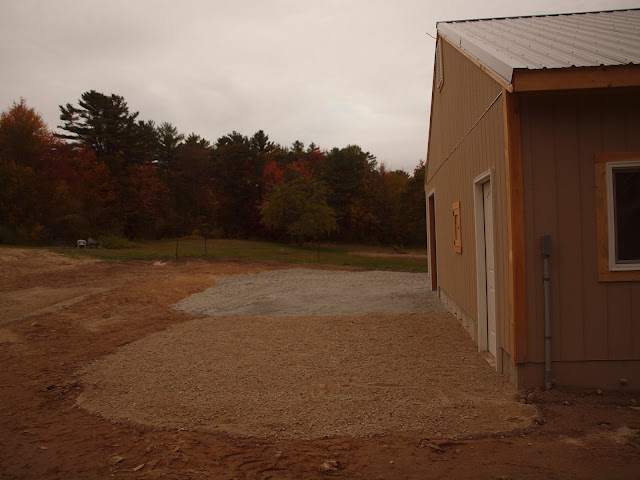 |
| stone dust and road pack |
 |
| Mom starts painting the trim |
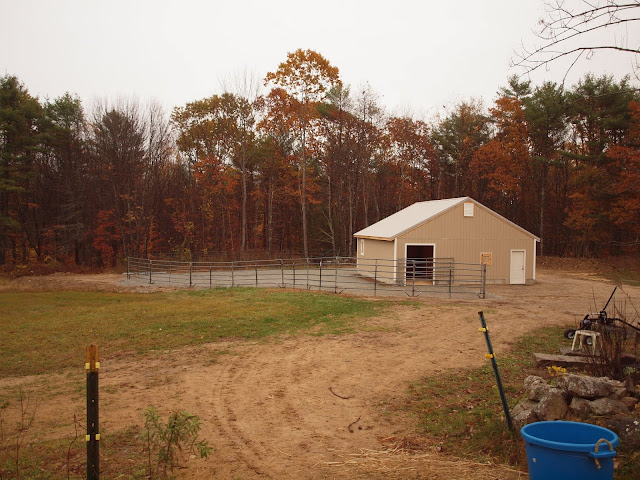 |
| paddock fencing is up |
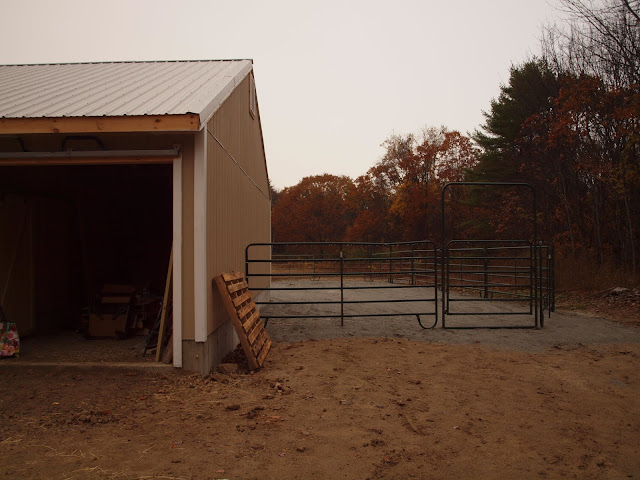 |
| back of paddock |
 |
| interior - Fargo's stall looking into the run in |
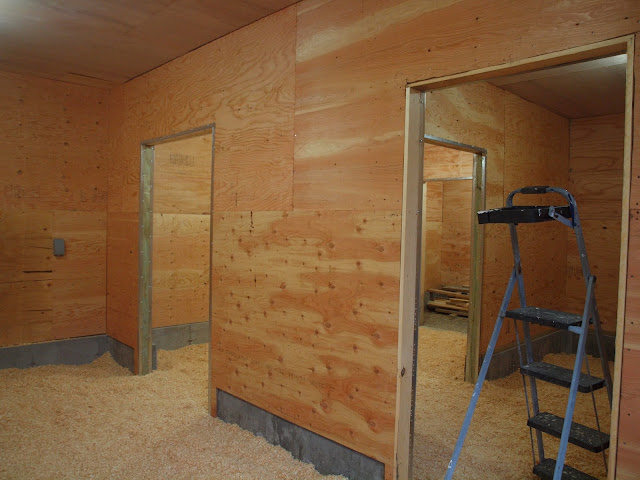 |
| interior - run in, Flea's stall with ladder |
|
 |
| looking out of the run in section |
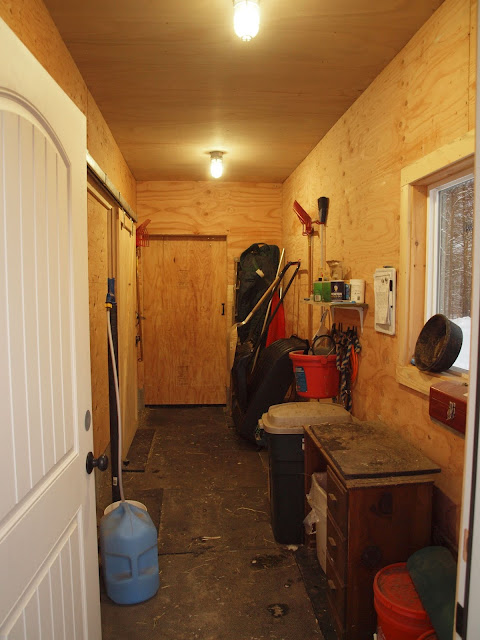 |
| the aisle (aka tack and feed room) |
 |
| filling the hay storage room |
 |
| just add mules! |
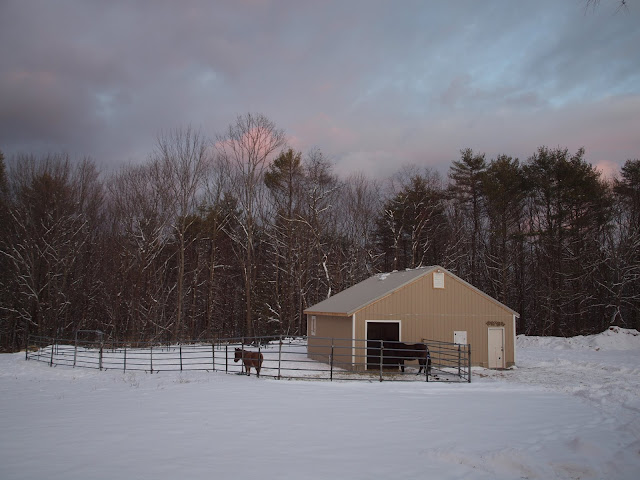 |
| in time for winter |


No comments:
Post a Comment